- Overview
- Getting Started Guide
- UserGuide
-
References
-
ABEJA Platform CLI
- CONFIG COMMAND
- DATALAKE COMMAND
- DATASET COMMAND
- TRAINING COMMAND
-
MODEL COMMAND
- check-endpoint-image
- check-endpoint-json
- create-deployment
- create-endpoint
- create-model
- create-service
- create-trigger
- create-version
- delete-deployment
- delete-endpoint
- delete-model
- delete-service
- delete-version
- describe-deployments
- describe-endpoints
- describe-models
- describe-service-logs
- describe-services
- describe-versions
- download-versions
- run-local
- run-local-server
- start-service
- stop-service
- submit-run
- update-endpoint
- startapp command
- SECRET COMMAND
- SECRET VERSION COMMAND
-
ABEJA Platform CLI
- FAQ
- Appendix
Regist Custom Image
Push image to repository
Push the image to the created repository.
First, Login to the ABEJA Platform container registry.
$ echo '{personal_access_token}' | docker login -u user-{user_id} --password-stdin registry.abeja.io
Login Succeeded
If you have a token for OAuth application, you have to specify "ABEJA" as username:
$ echo '{token}' | docker login -u ABEJA --password-stdin registry.abeja.io
Login Succeeded
Please check this procedure for “user_id”,“personal access token”. Here
Next, Tag the created image.
$ docker tag my-custom-image:0.0.1 registry.abeja.io/custom/{organization_id}/my-custom-image:0.0.1
Push the tagged image.
$ docker push registry.abeja.io/custom/{organization_id}/my-custom-image:0.0.1
...
0.0.1: digest: sha256:87a5a2472ab2dcfbc147f0f3a52314e83ff7978ceb0acf74f81d32ce23exxxxx size: 3674
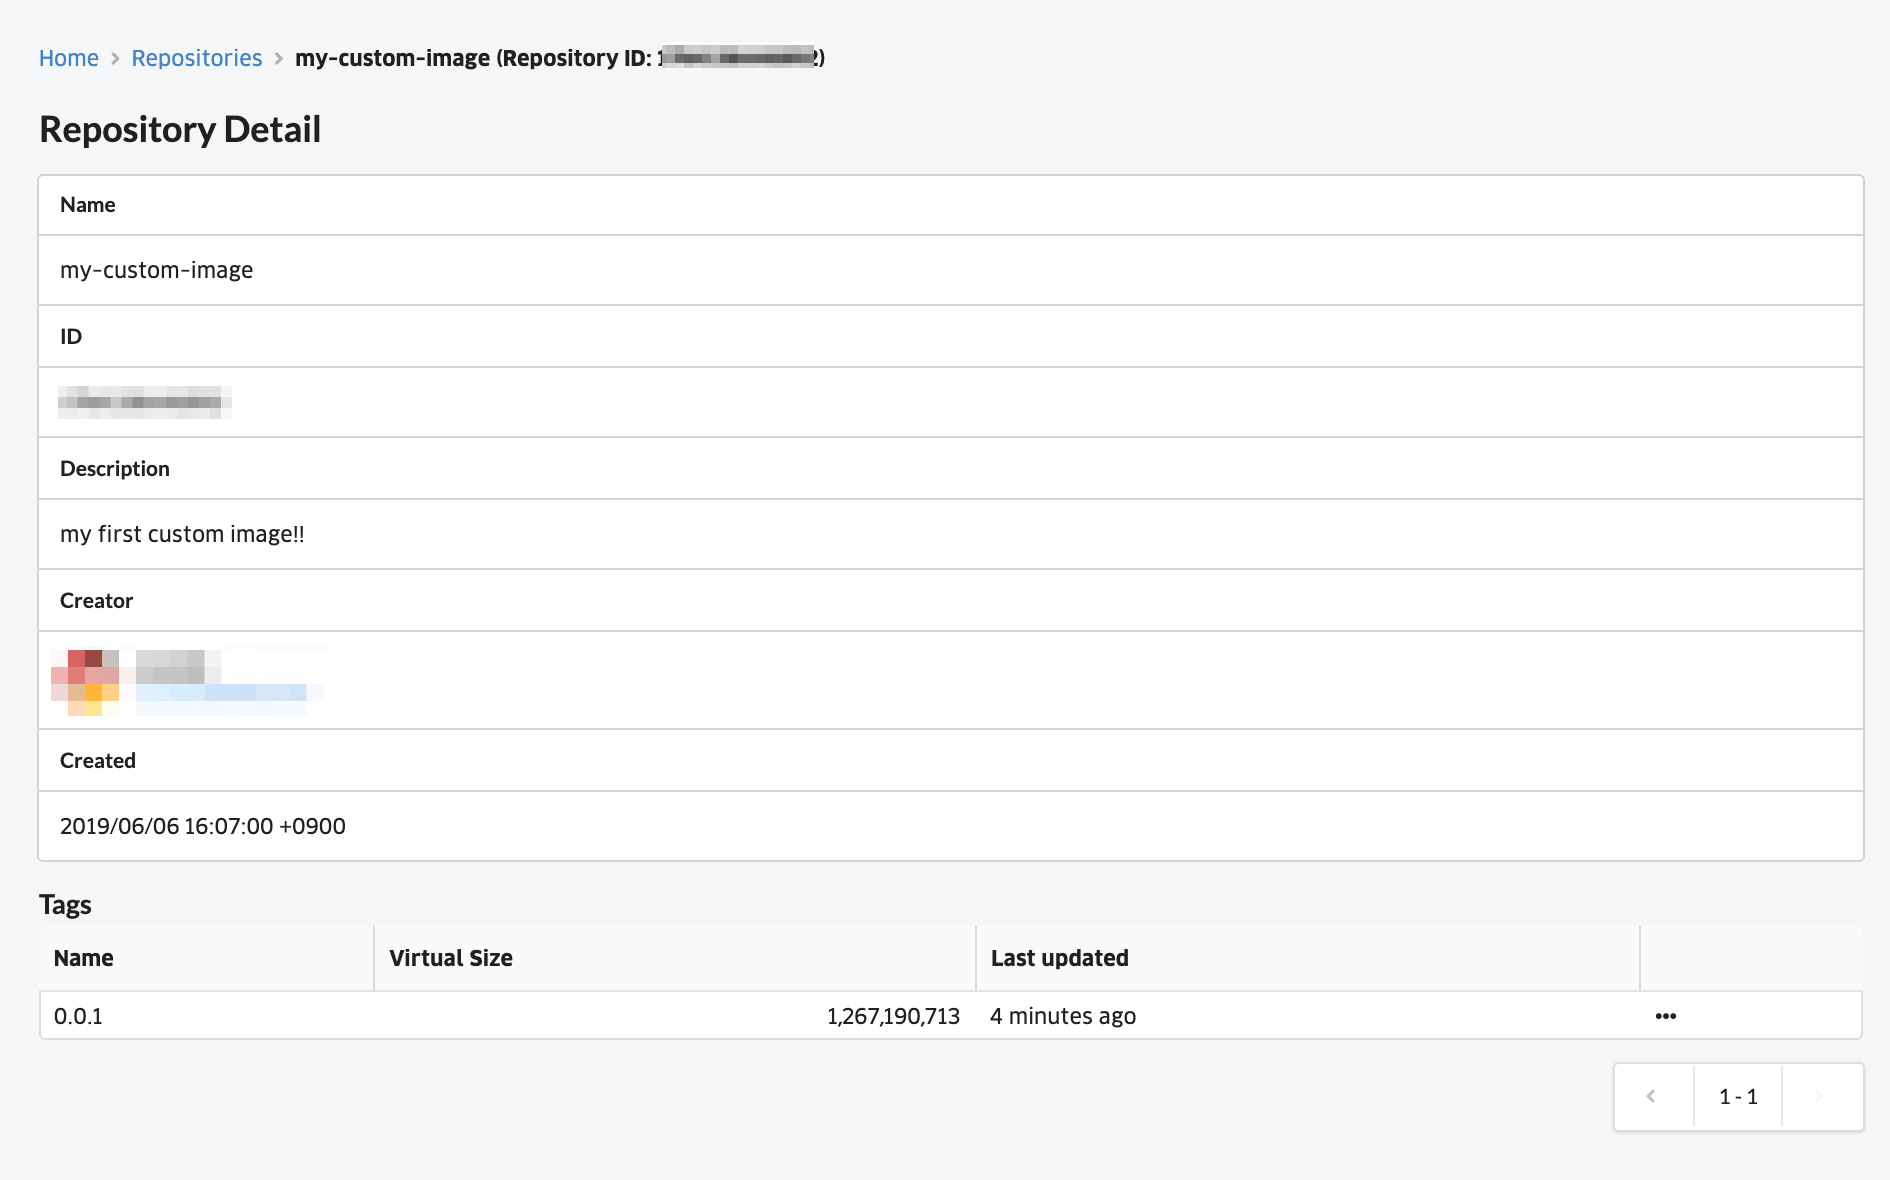
Check repository image
Select the repository that pushed the image from the repository list screen.

On the repository details screen, you can see the tag you just pushed.
