- Overview
- Getting Started Guide
- UserGuide
-
References
-
ABEJA Platform CLI
- CONFIG COMMAND
- DATALAKE COMMAND
- DATASET COMMAND
- TRAINING COMMAND
-
MODEL COMMAND
- check-endpoint-image
- check-endpoint-json
- create-deployment
- create-endpoint
- create-model
- create-service
- create-trigger
- create-version
- delete-deployment
- delete-endpoint
- delete-model
- delete-service
- delete-version
- describe-deployments
- describe-endpoints
- describe-models
- describe-service-logs
- describe-services
- describe-versions
- download-versions
- run-local
- run-local-server
- start-service
- stop-service
- submit-run
- update-endpoint
- startapp command
- SECRET COMMAND
- SECRET VERSION COMMAND
-
ABEJA Platform CLI
- FAQ
- Appendix
Create a notebook
Create Training job definition
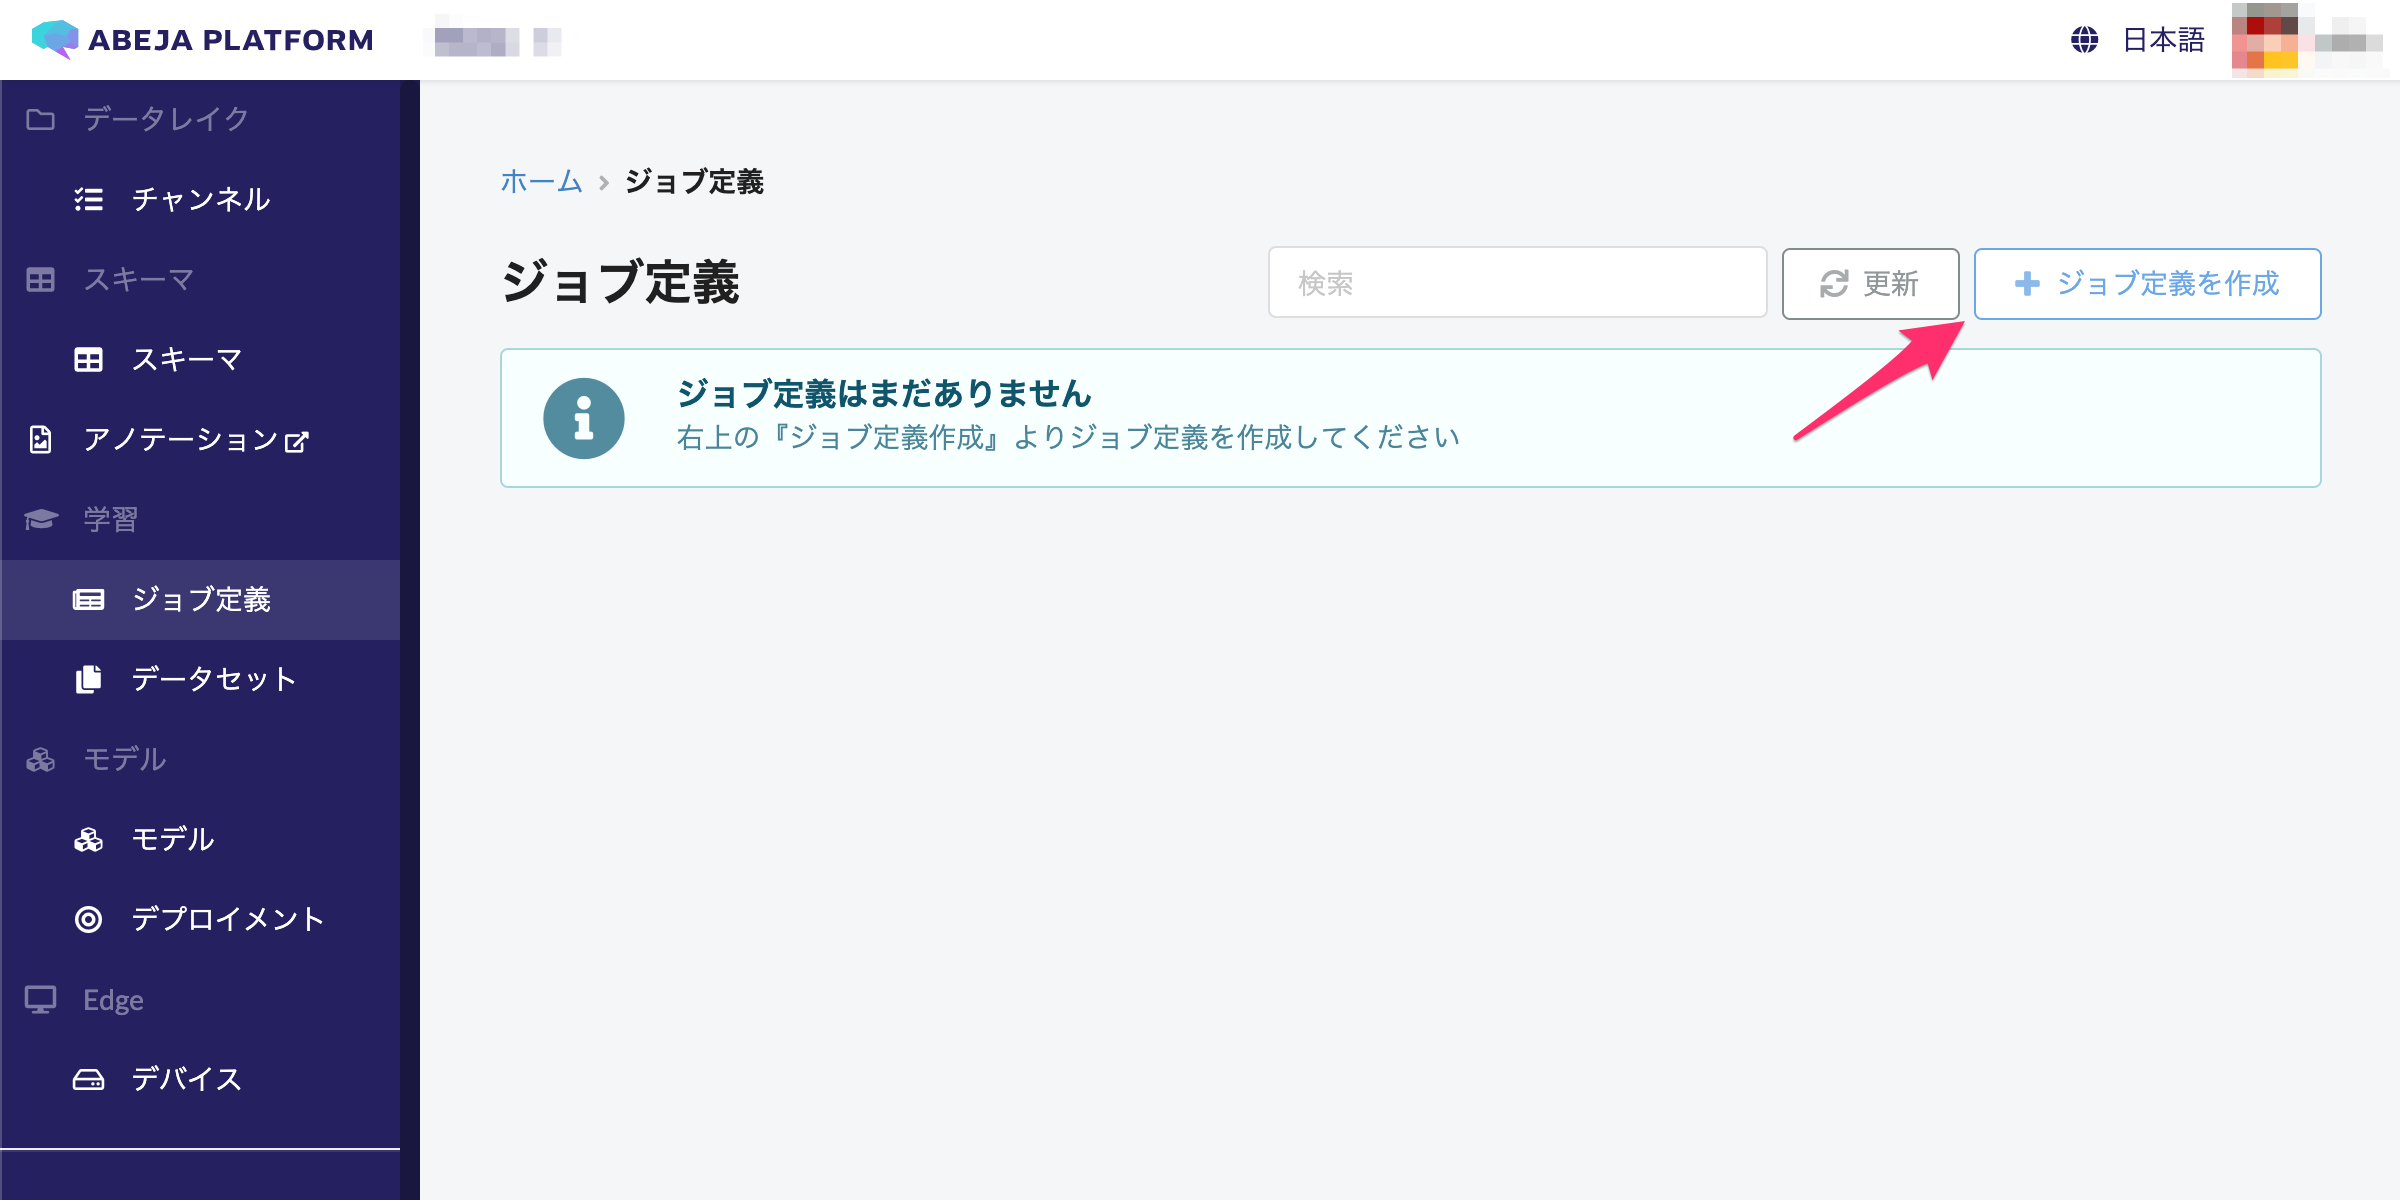
Click “Training” > “Job Definition” in the left menu.
Select “Create Job Definition” in the upper right of the screen.
Input Training job definition name in input form.
Select “No sample” for sample of job definition version. Create a learning job definition.
The Training job definition name is made up of “alphanumeric characters or _ or -”.
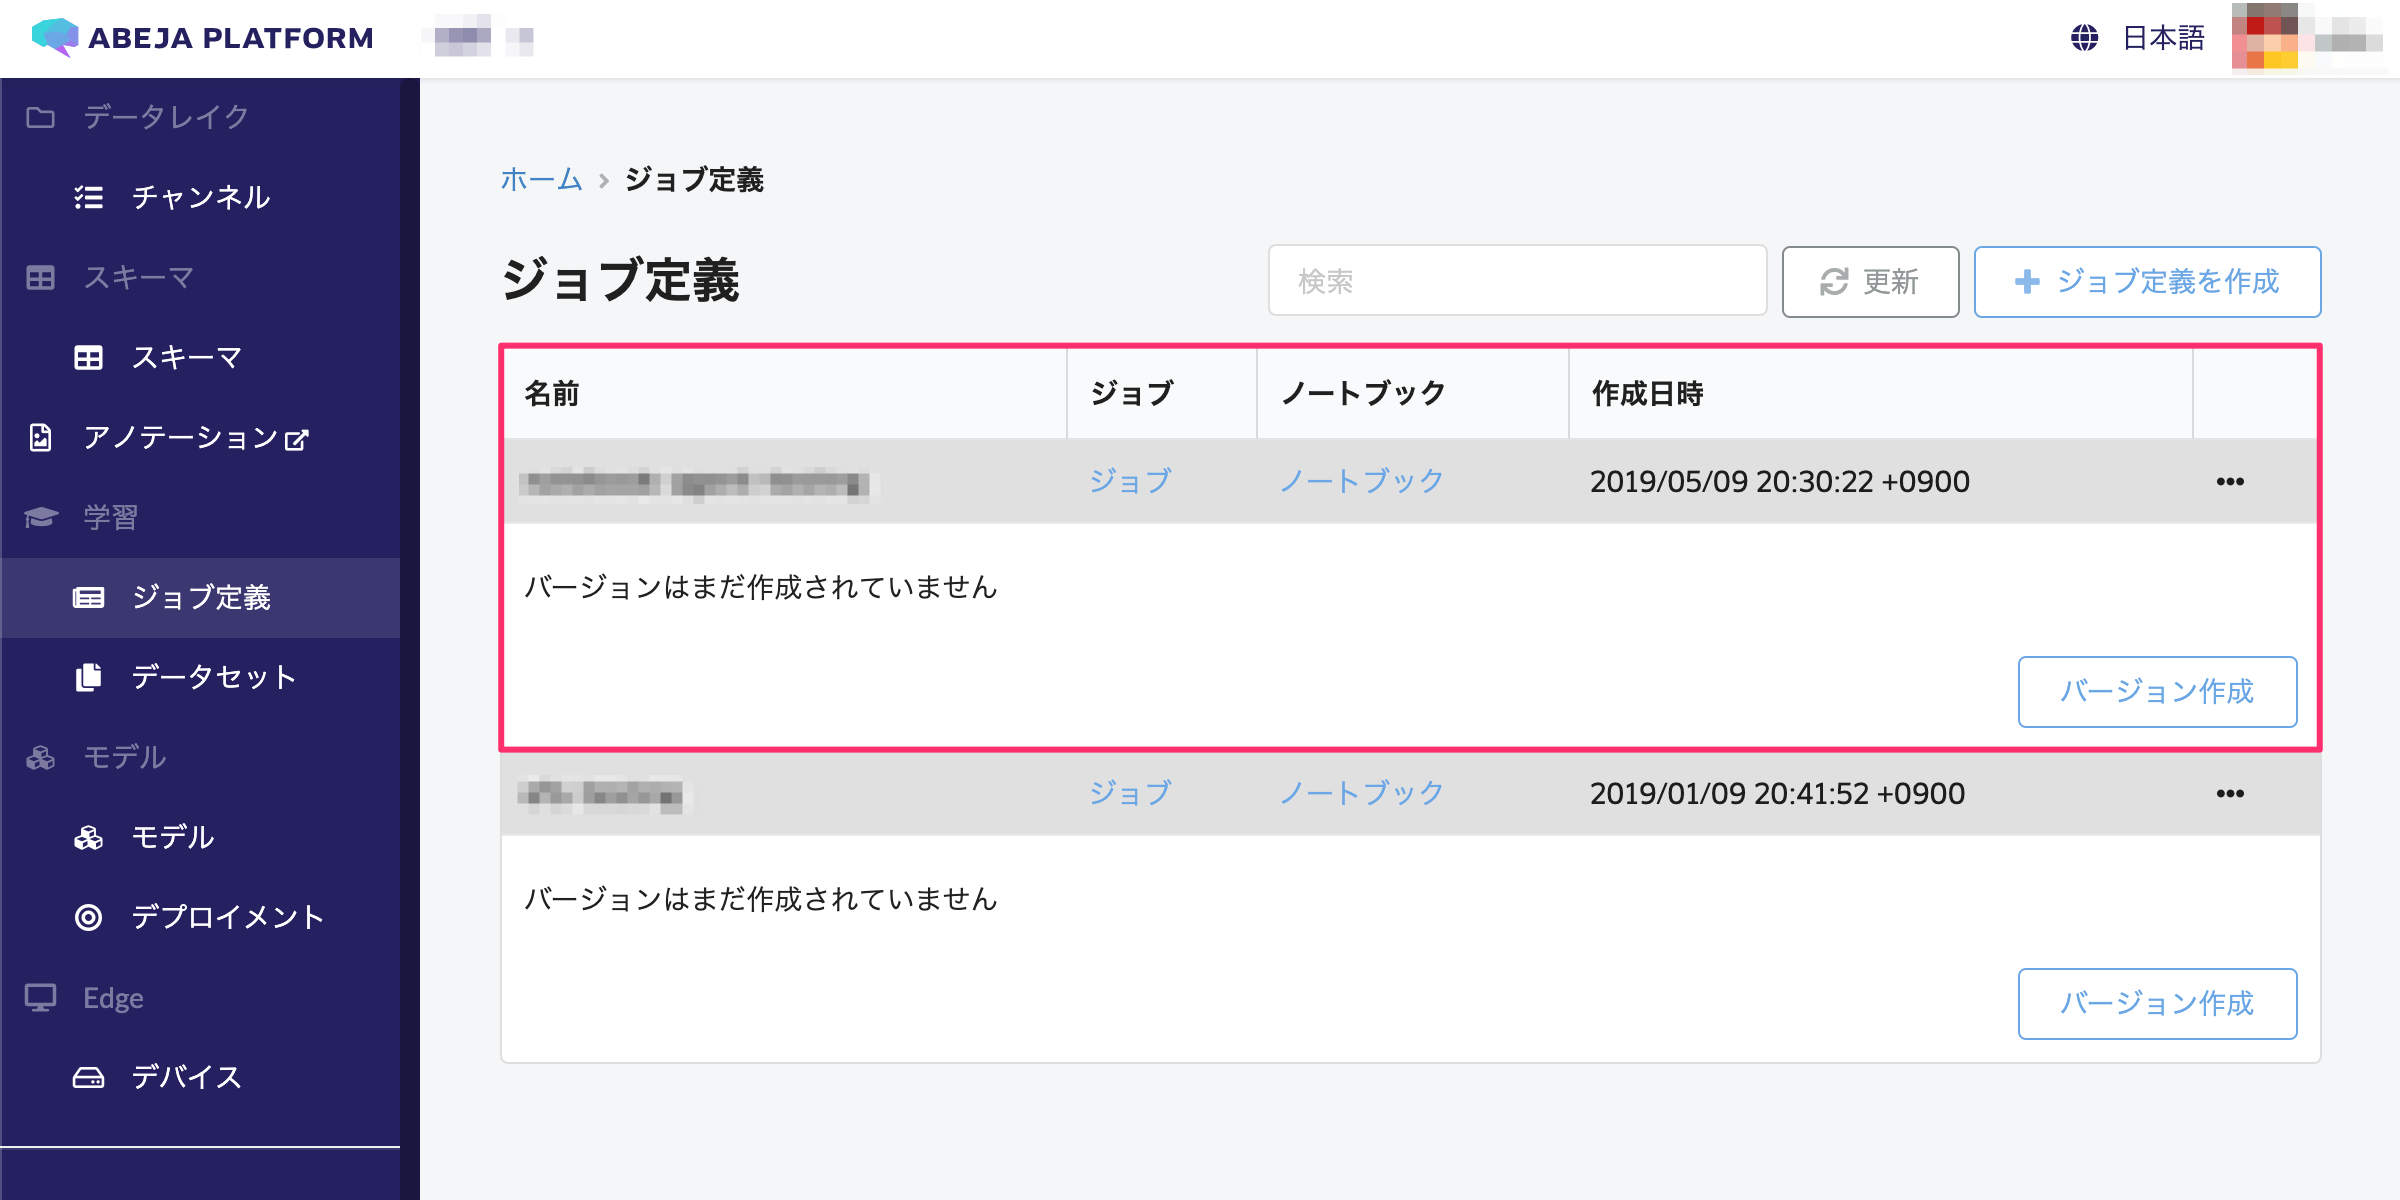
If creation is successful, the following screen is displayed.
Create notebook
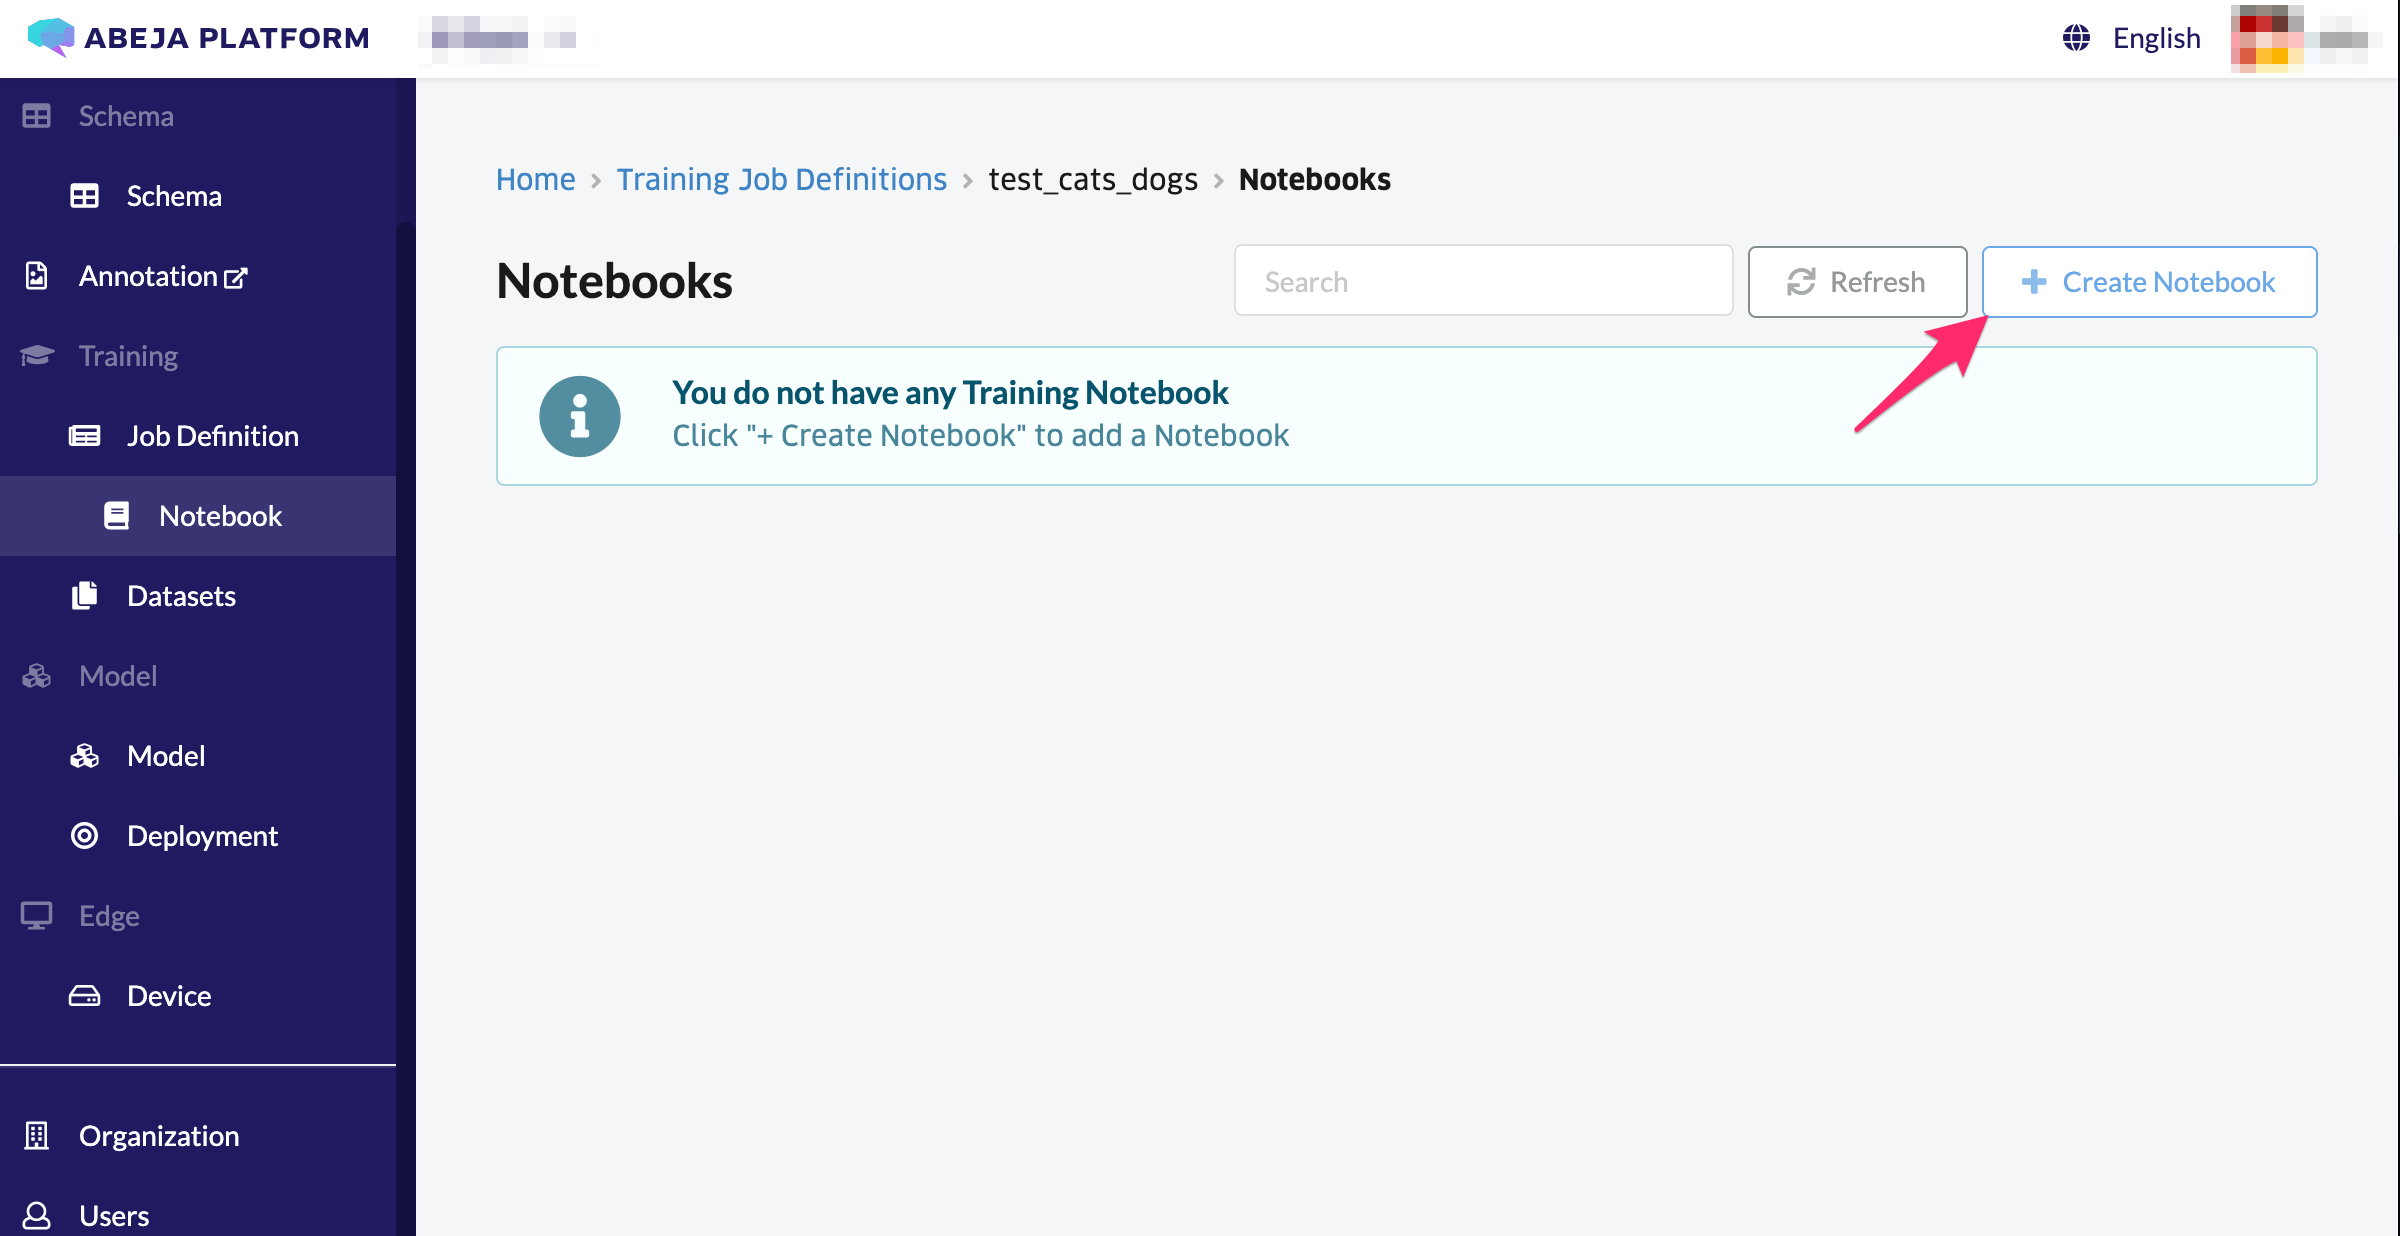
Select “Notebooks” on the created Training job definition screen, and create a notebook.
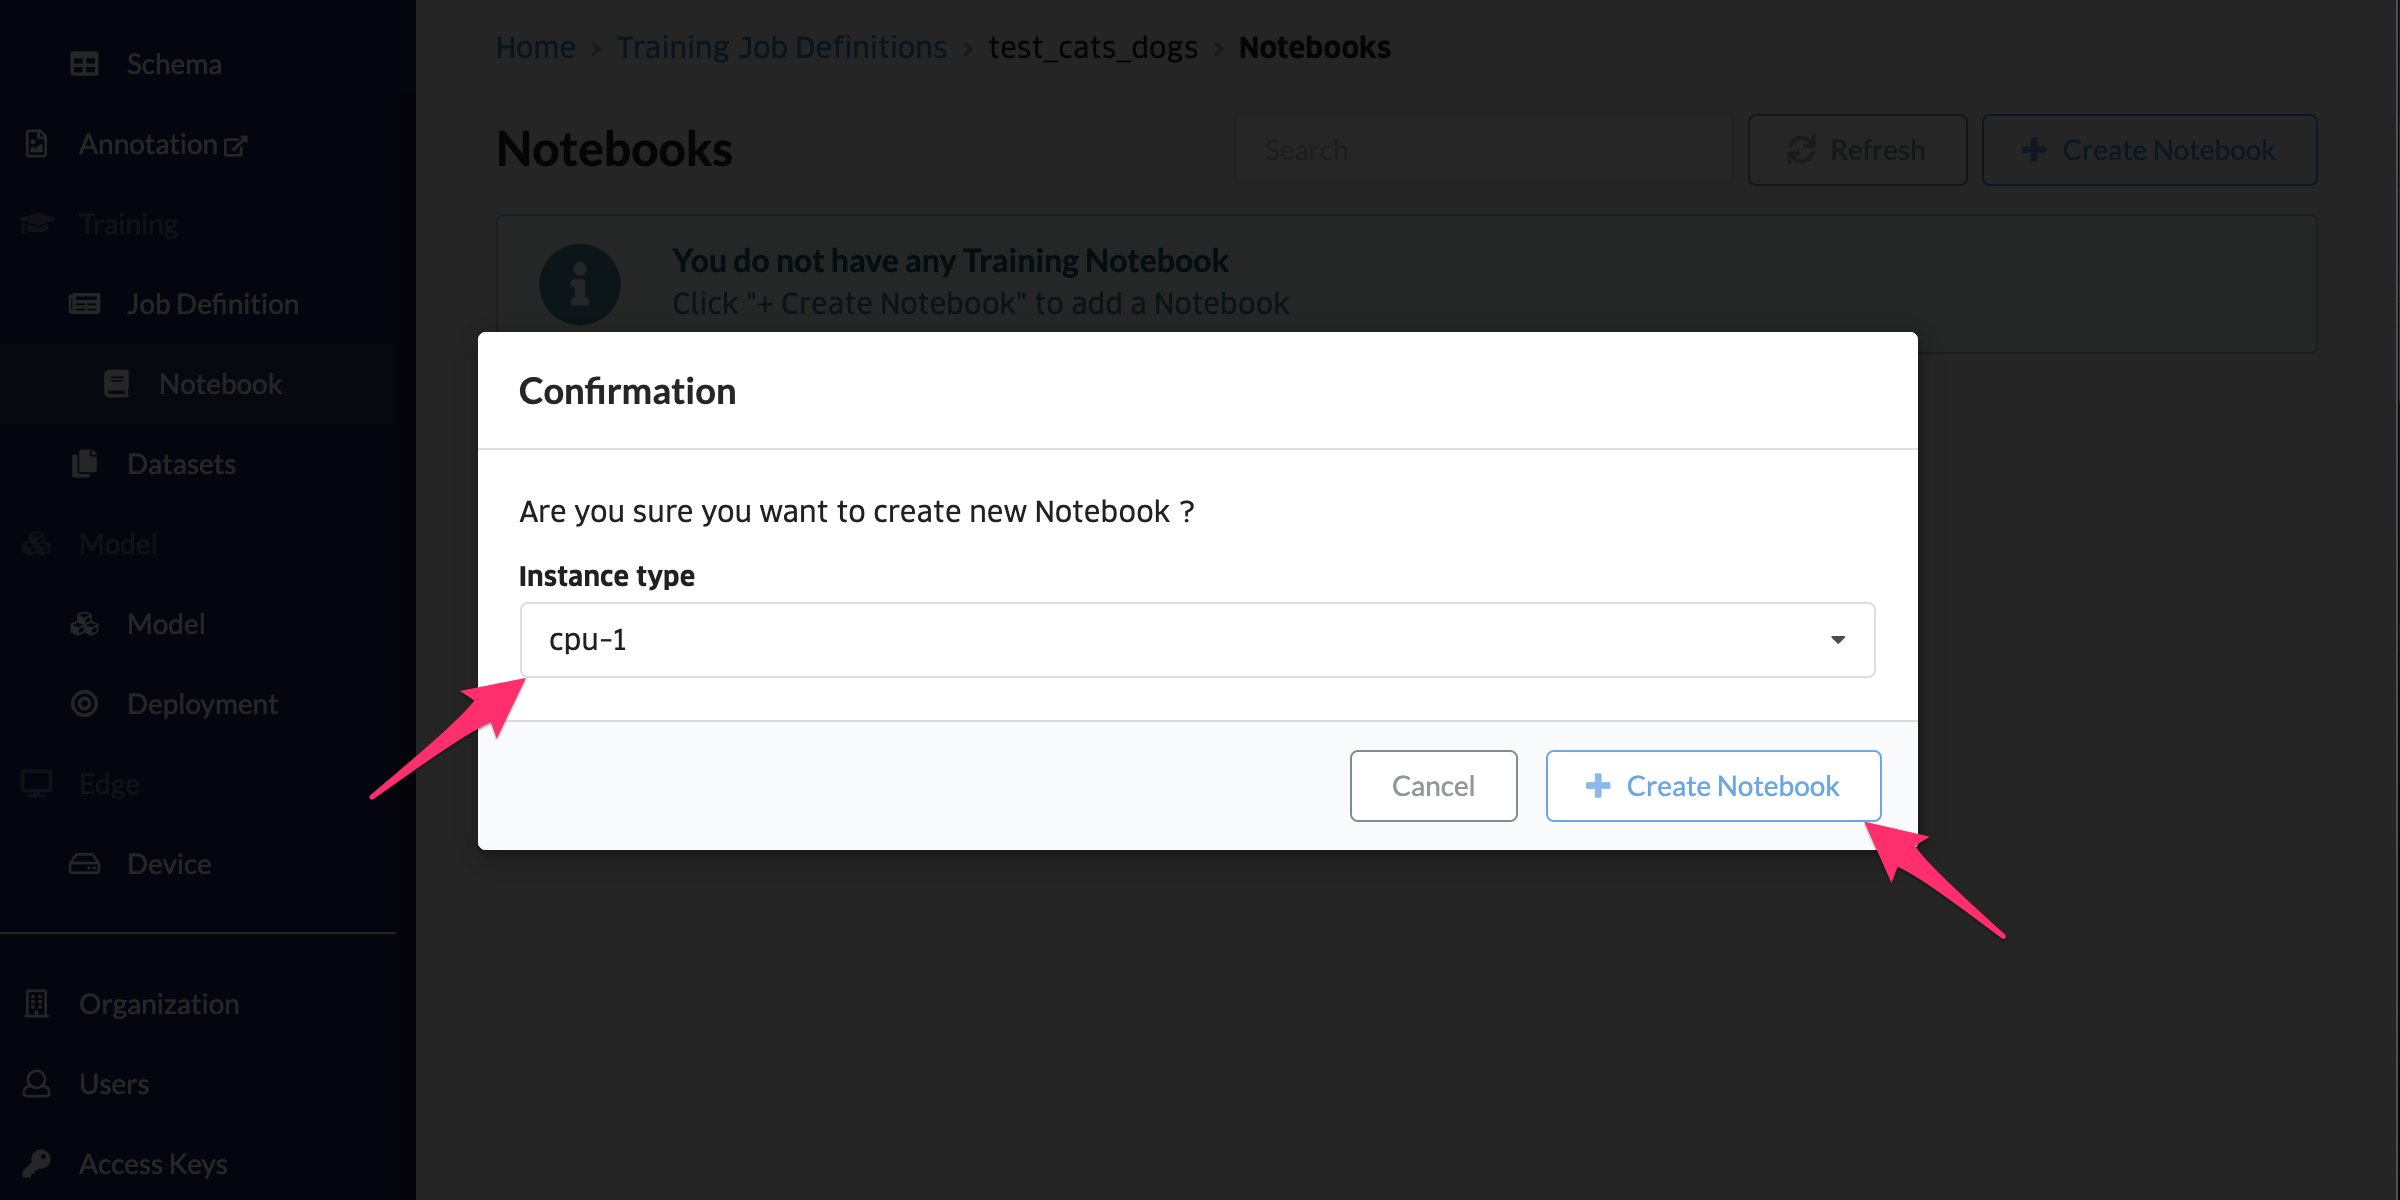
Select “Create Notebook” at the top right of the screen.
Select an instance type and choose “Create Notebook”.
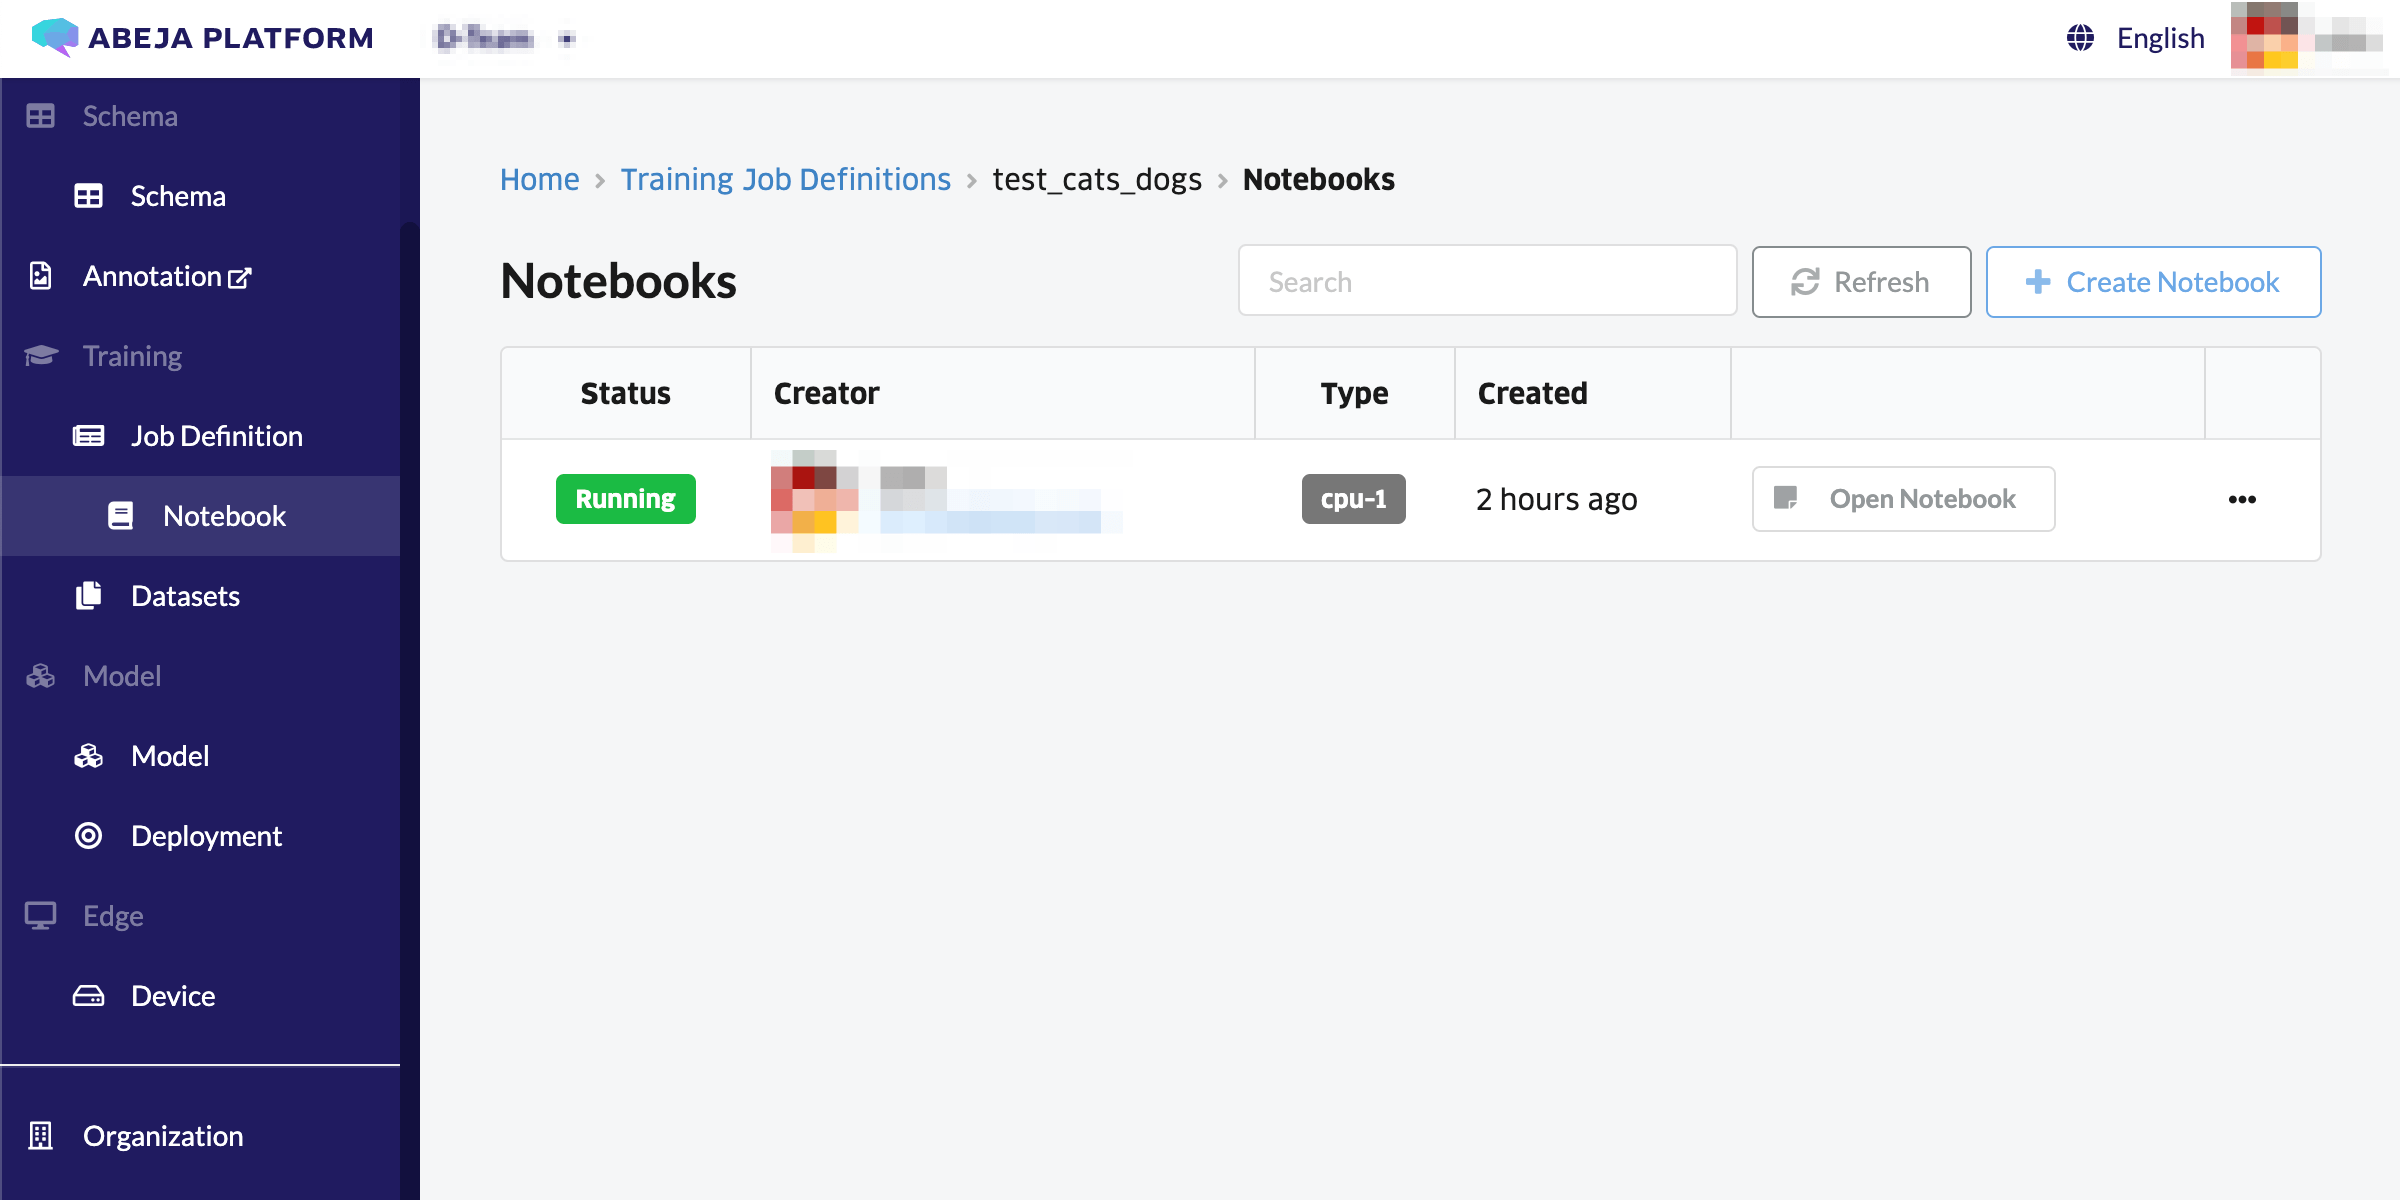
If creation is successful, the created notebook is displayed in the list.
Immediately after creation, “Status” is “Pending”. When “Status” changes to “Running”, you can access the notebook. If it is not changed, click “Refresh” at the top of the screen.
Notebook access
Users can access the notebook. Select “Open Notebook” from the notebook list screen.
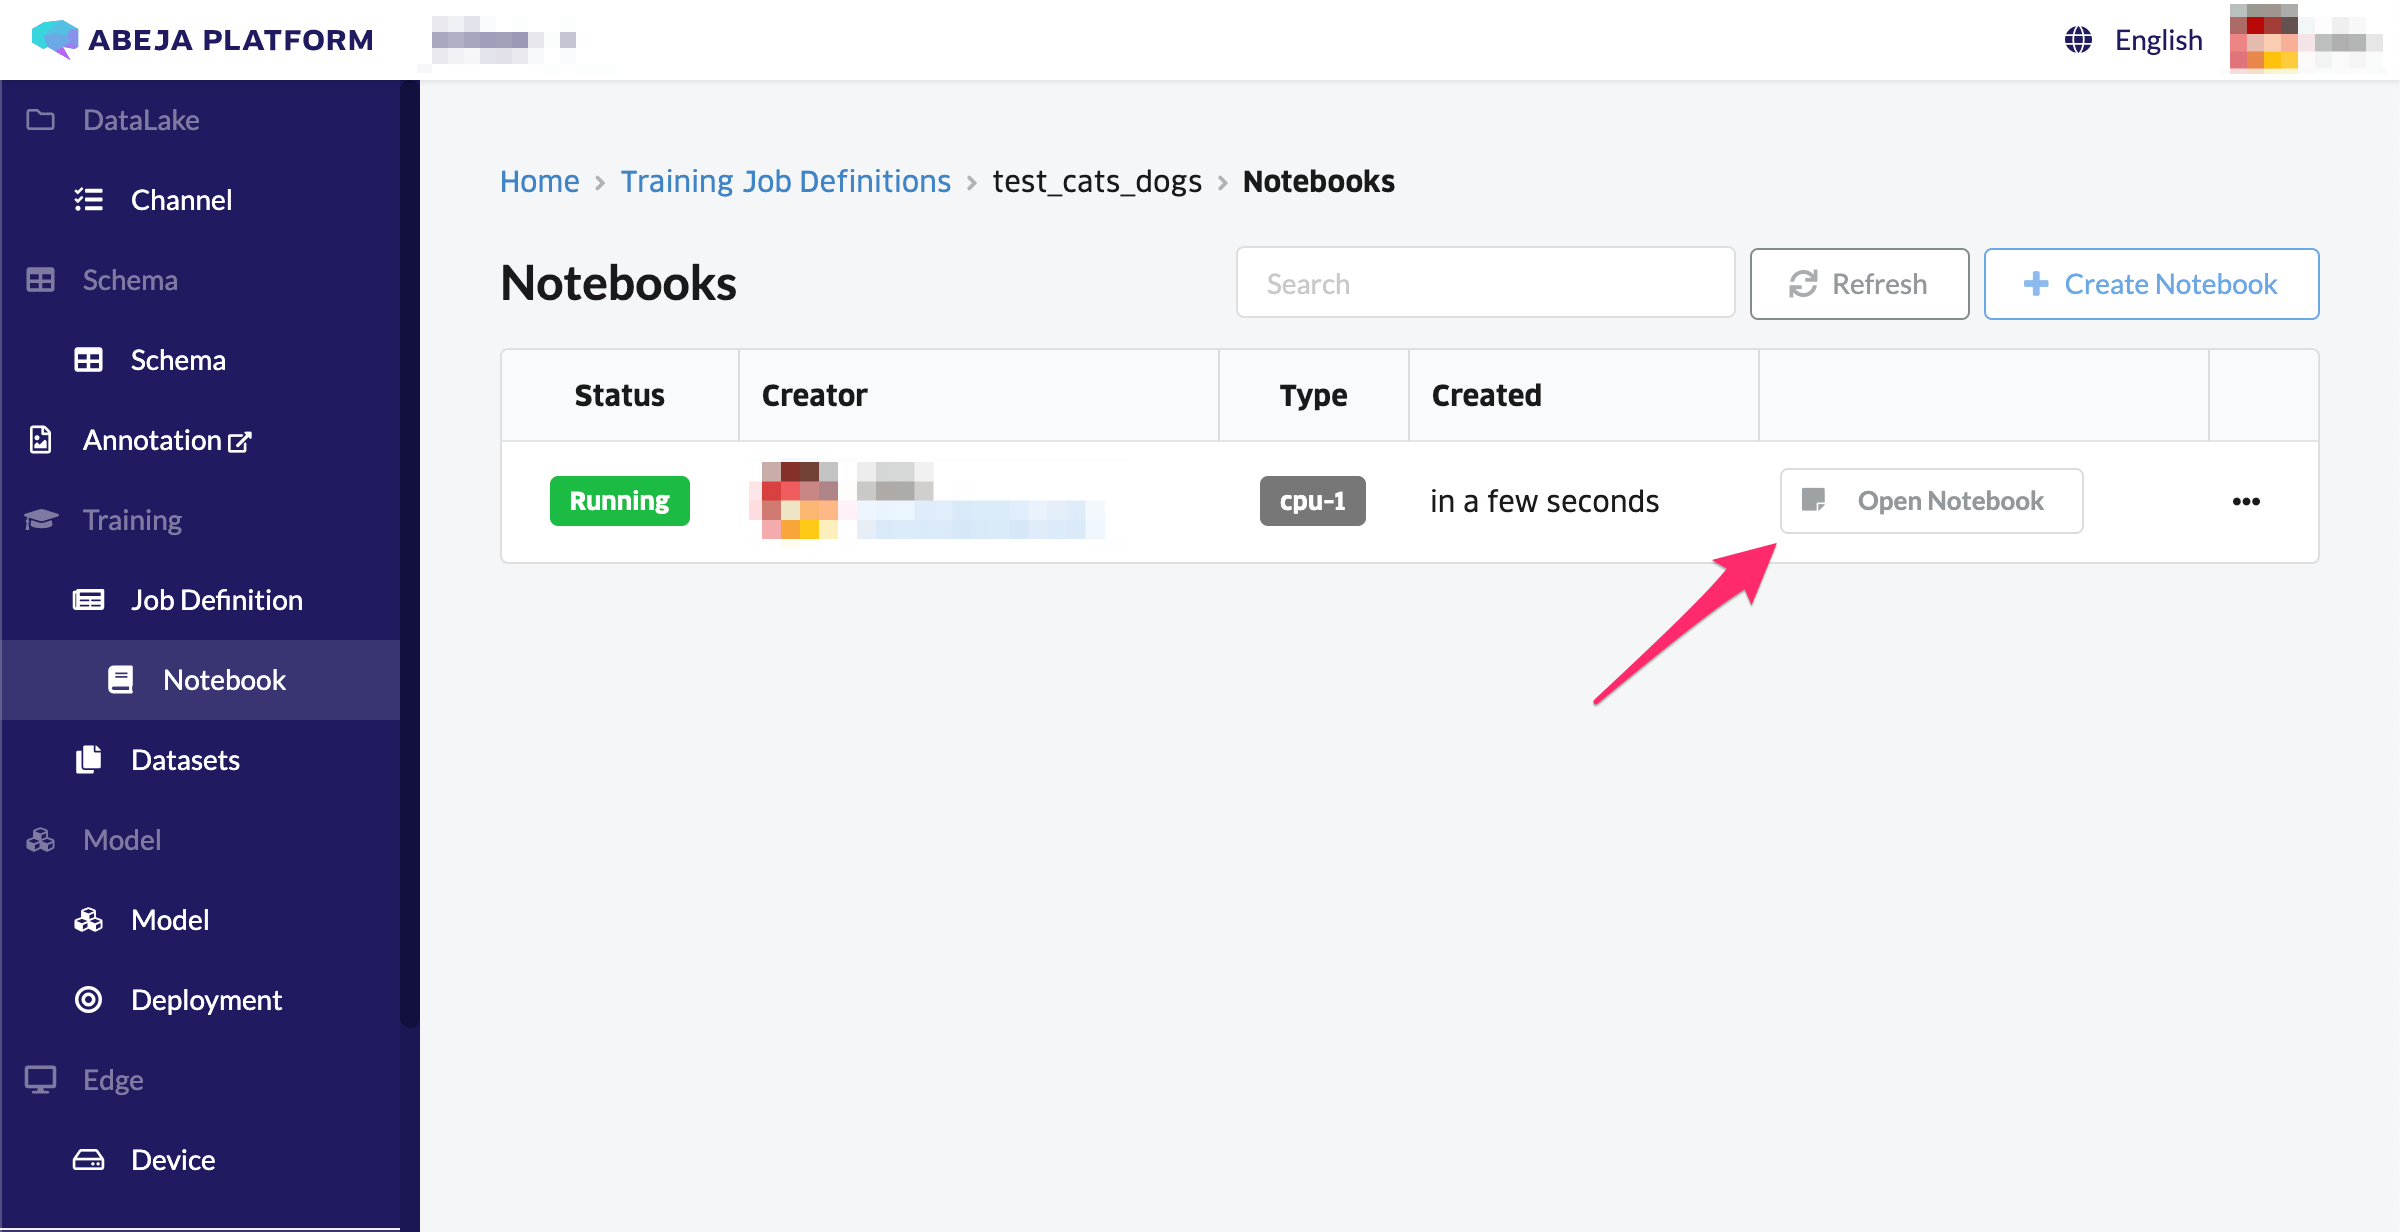
It will automatically go to the URL of the notebook.
( Ex. https://notebook-1111111111111-2222222222222-3333333333333.proxy.abeja.io/tree? )
