- Overview
- Getting Started Guide
- UserGuide
-
References
-
ABEJA Platform CLI
- CONFIG COMMAND
- DATALAKE COMMAND
- DATASET COMMAND
- TRAINING COMMAND
-
MODEL COMMAND
- check-endpoint-image
- check-endpoint-json
- create-deployment
- create-endpoint
- create-model
- create-service
- create-trigger
- create-version
- delete-deployment
- delete-endpoint
- delete-model
- delete-service
- delete-version
- describe-deployments
- describe-endpoints
- describe-models
- describe-service-logs
- describe-services
- describe-versions
- download-versions
- run-local
- run-local-server
- start-service
- stop-service
- submit-run
- update-endpoint
- startapp command
- SECRET COMMAND
- SECRET VERSION COMMAND
-
ABEJA Platform CLI
- FAQ
- Appendix
Use of annotation tool
Introduction
This page uses ABEJA Platform GUI and Annotation Tool to create a dataset.
Dataset creation using annotation tool
Use ABEJA Platform’s Annotation Tool to annotate the stored images and create a dataset.
Creating an annotation project
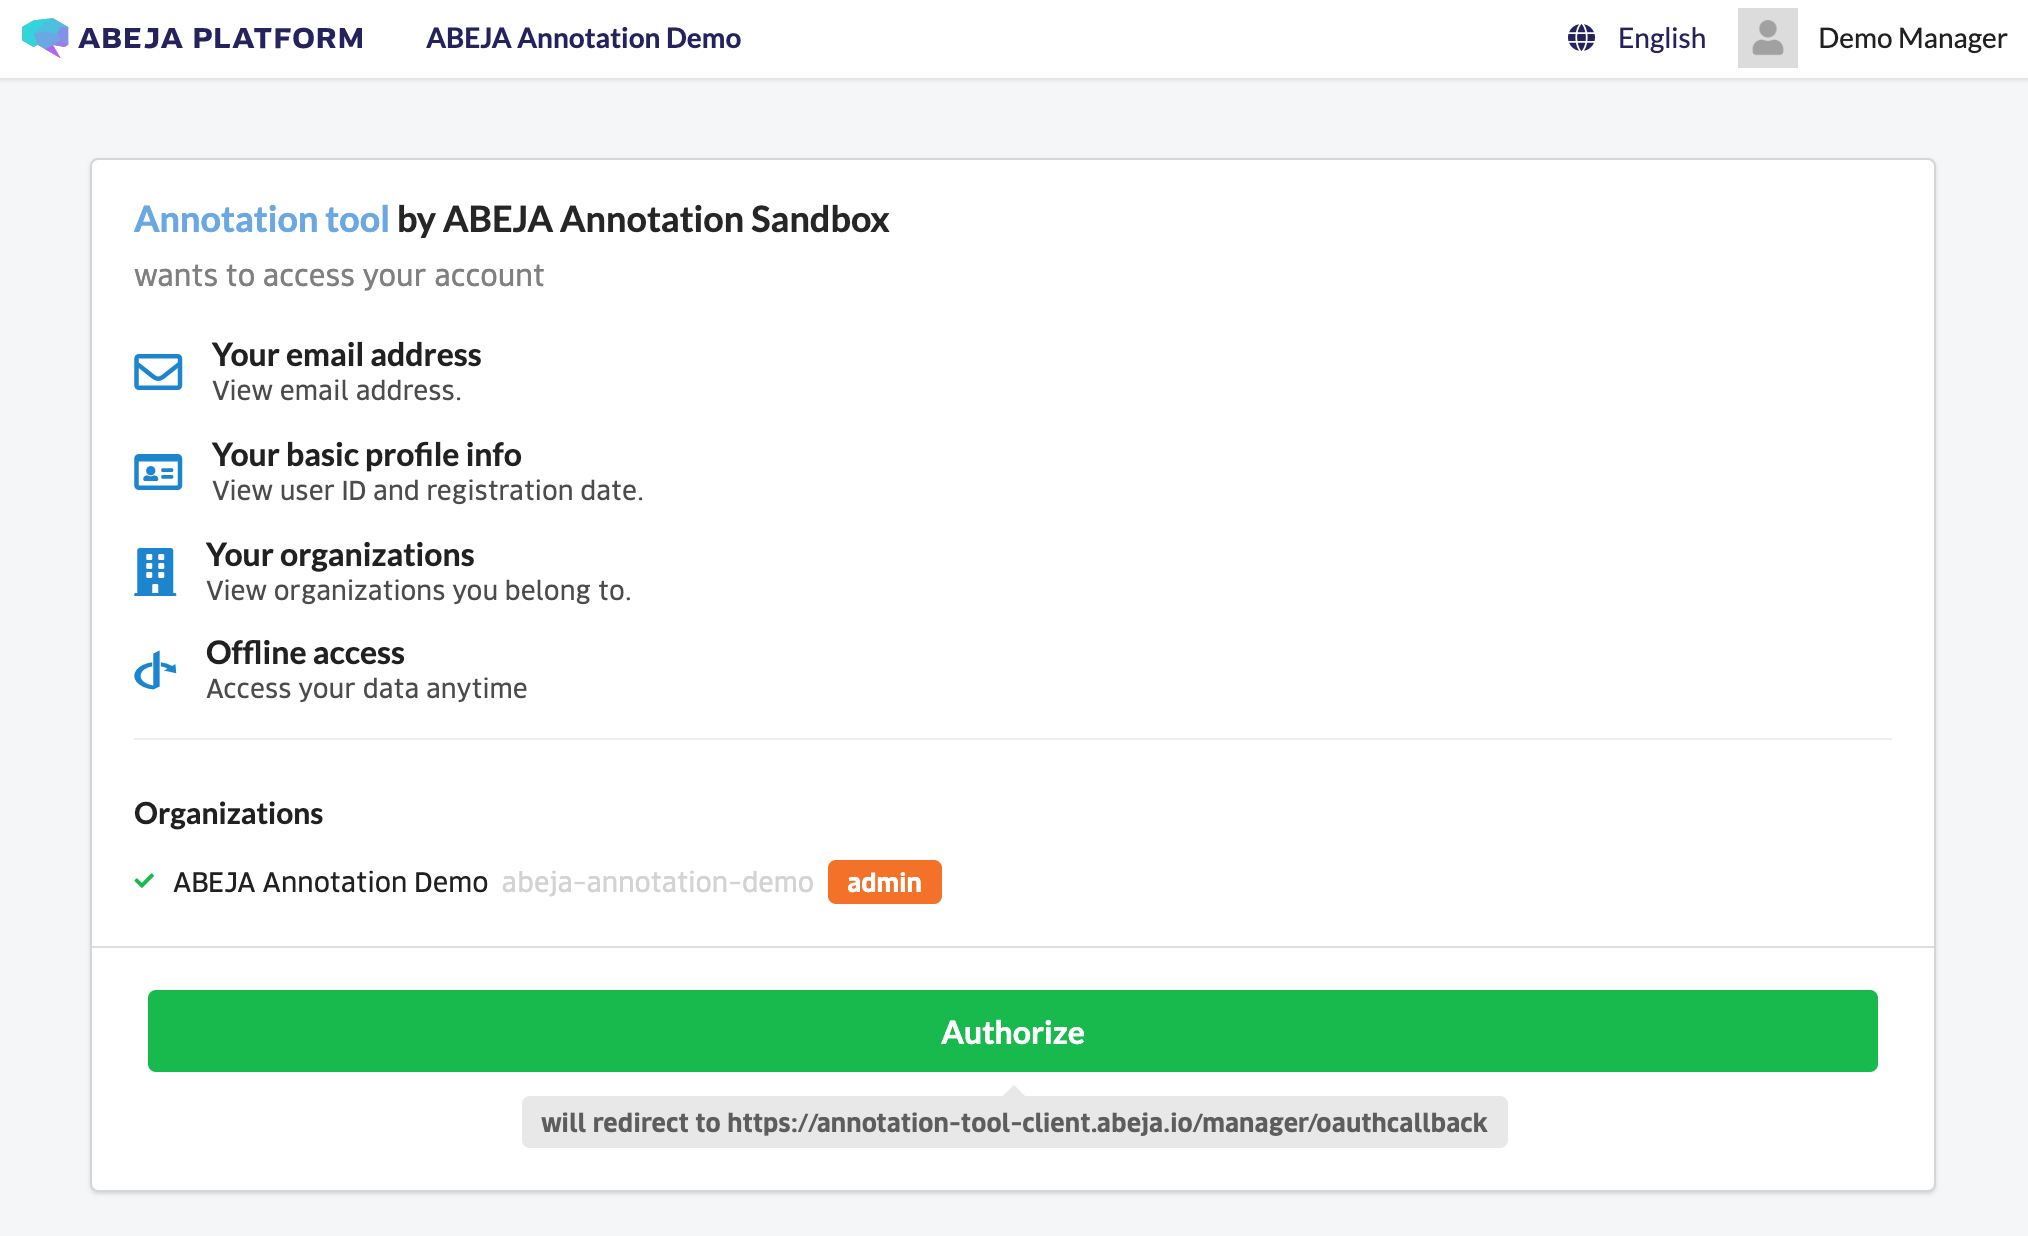
Click “Annotation” in the left menu. Click “Authorize” to go to another screen.
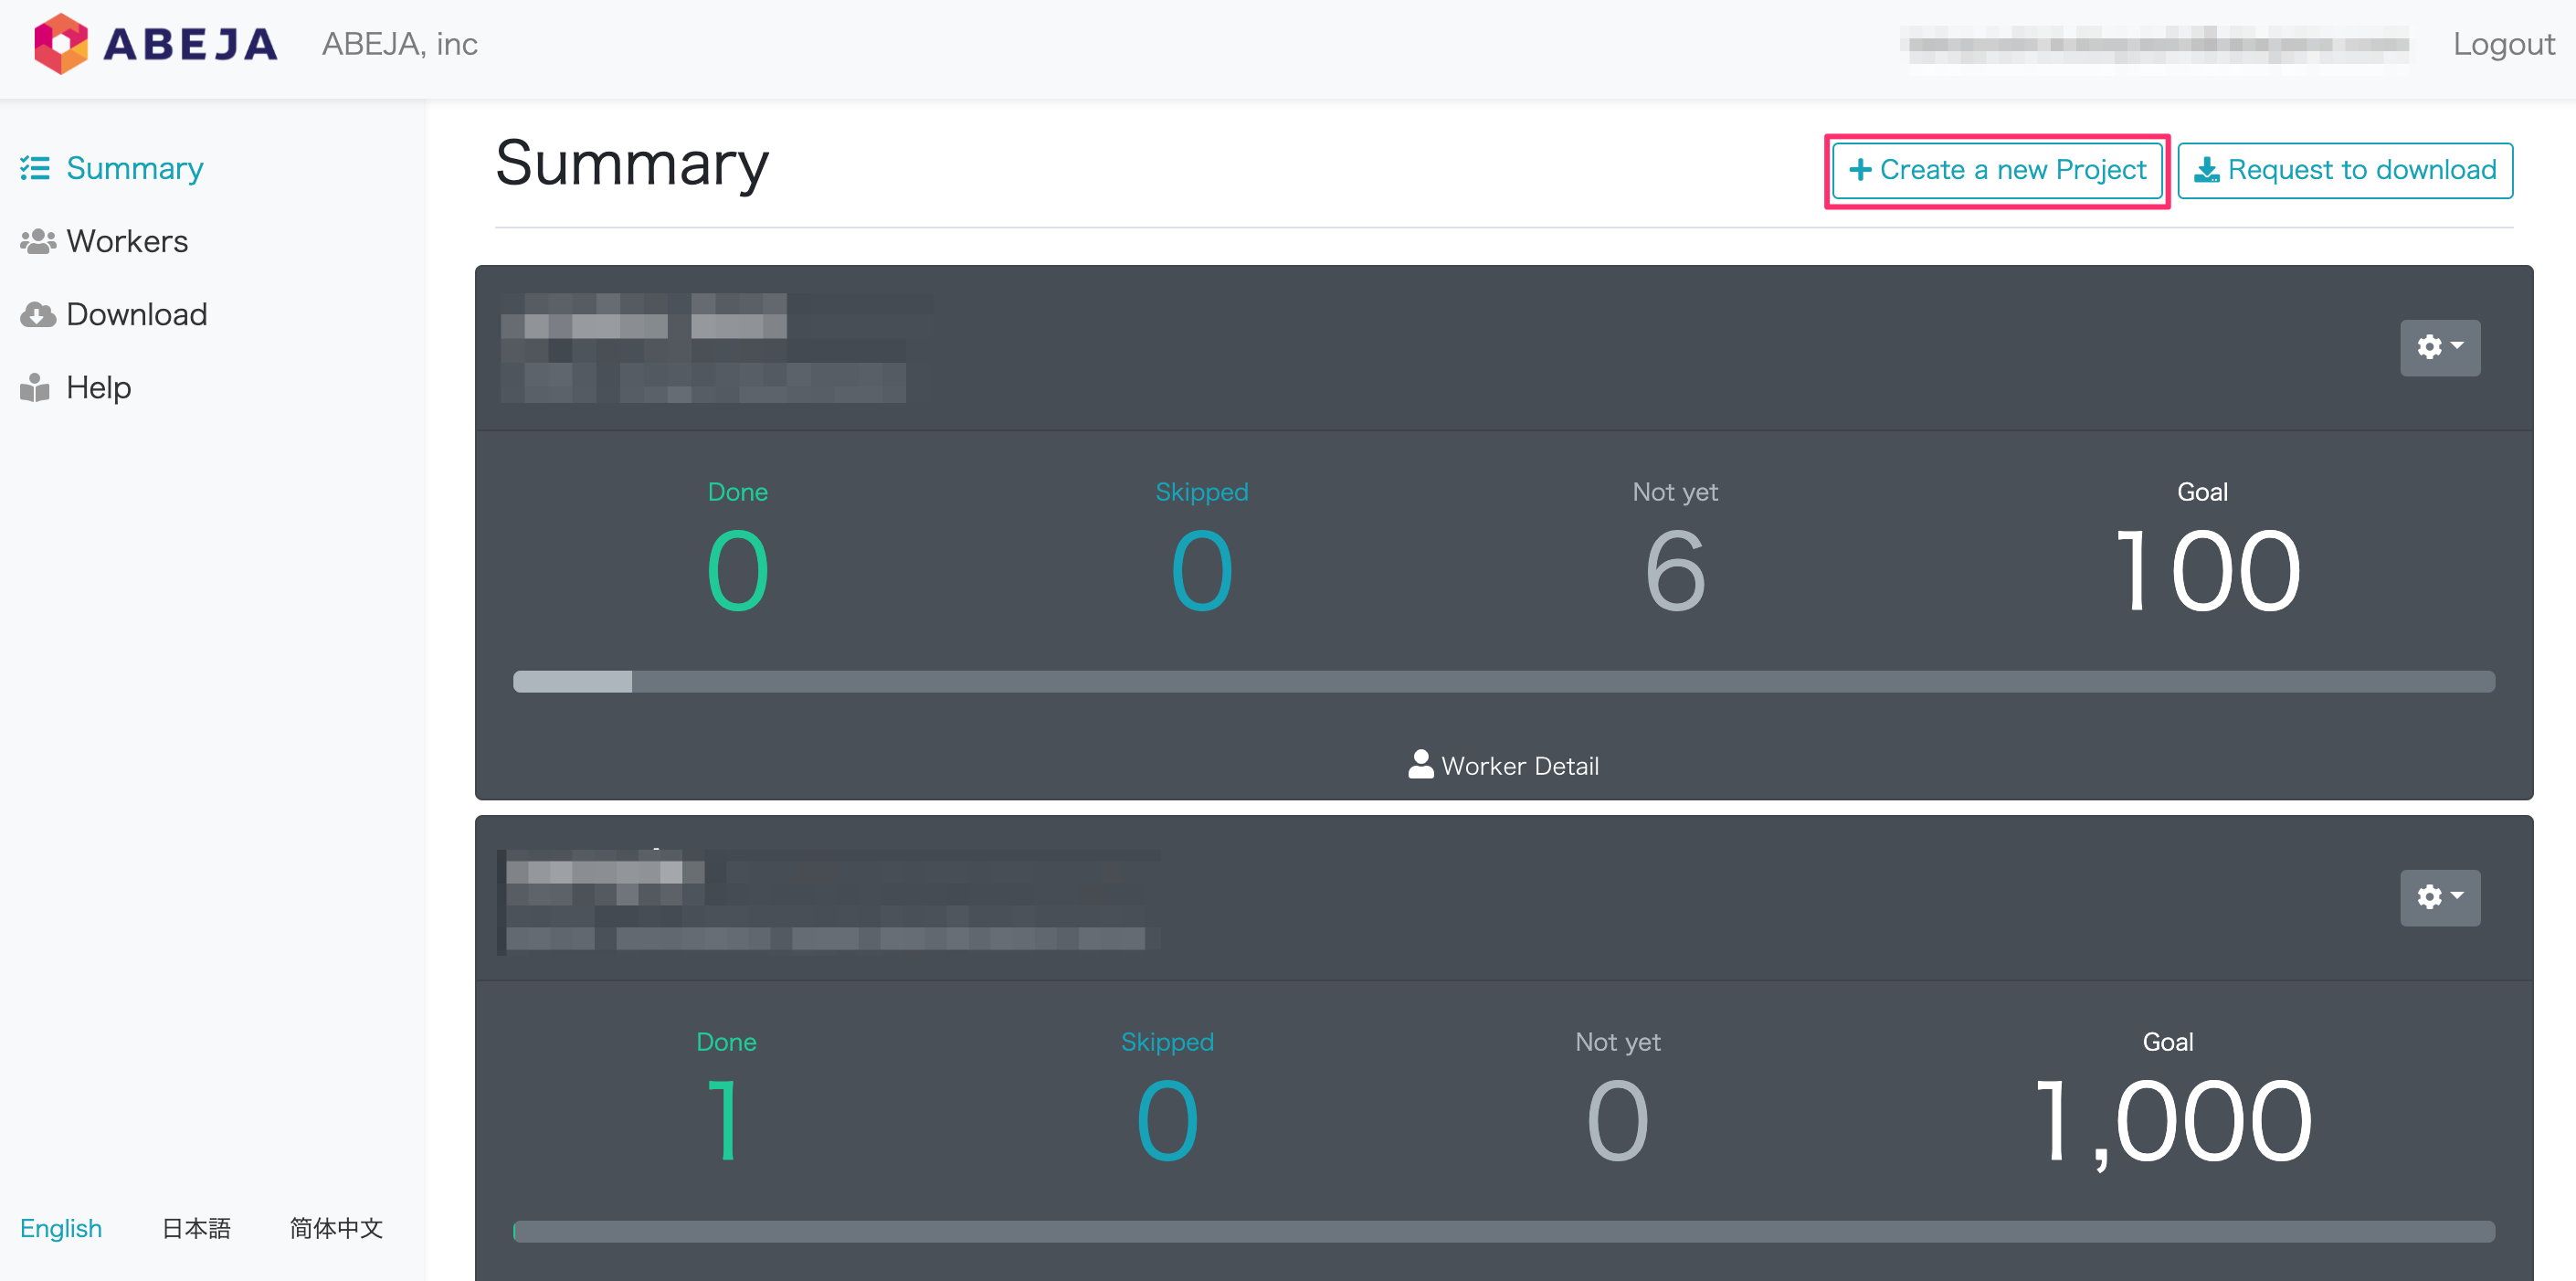
Next, click “Create a new project” from the upper right of the transitioned screen.
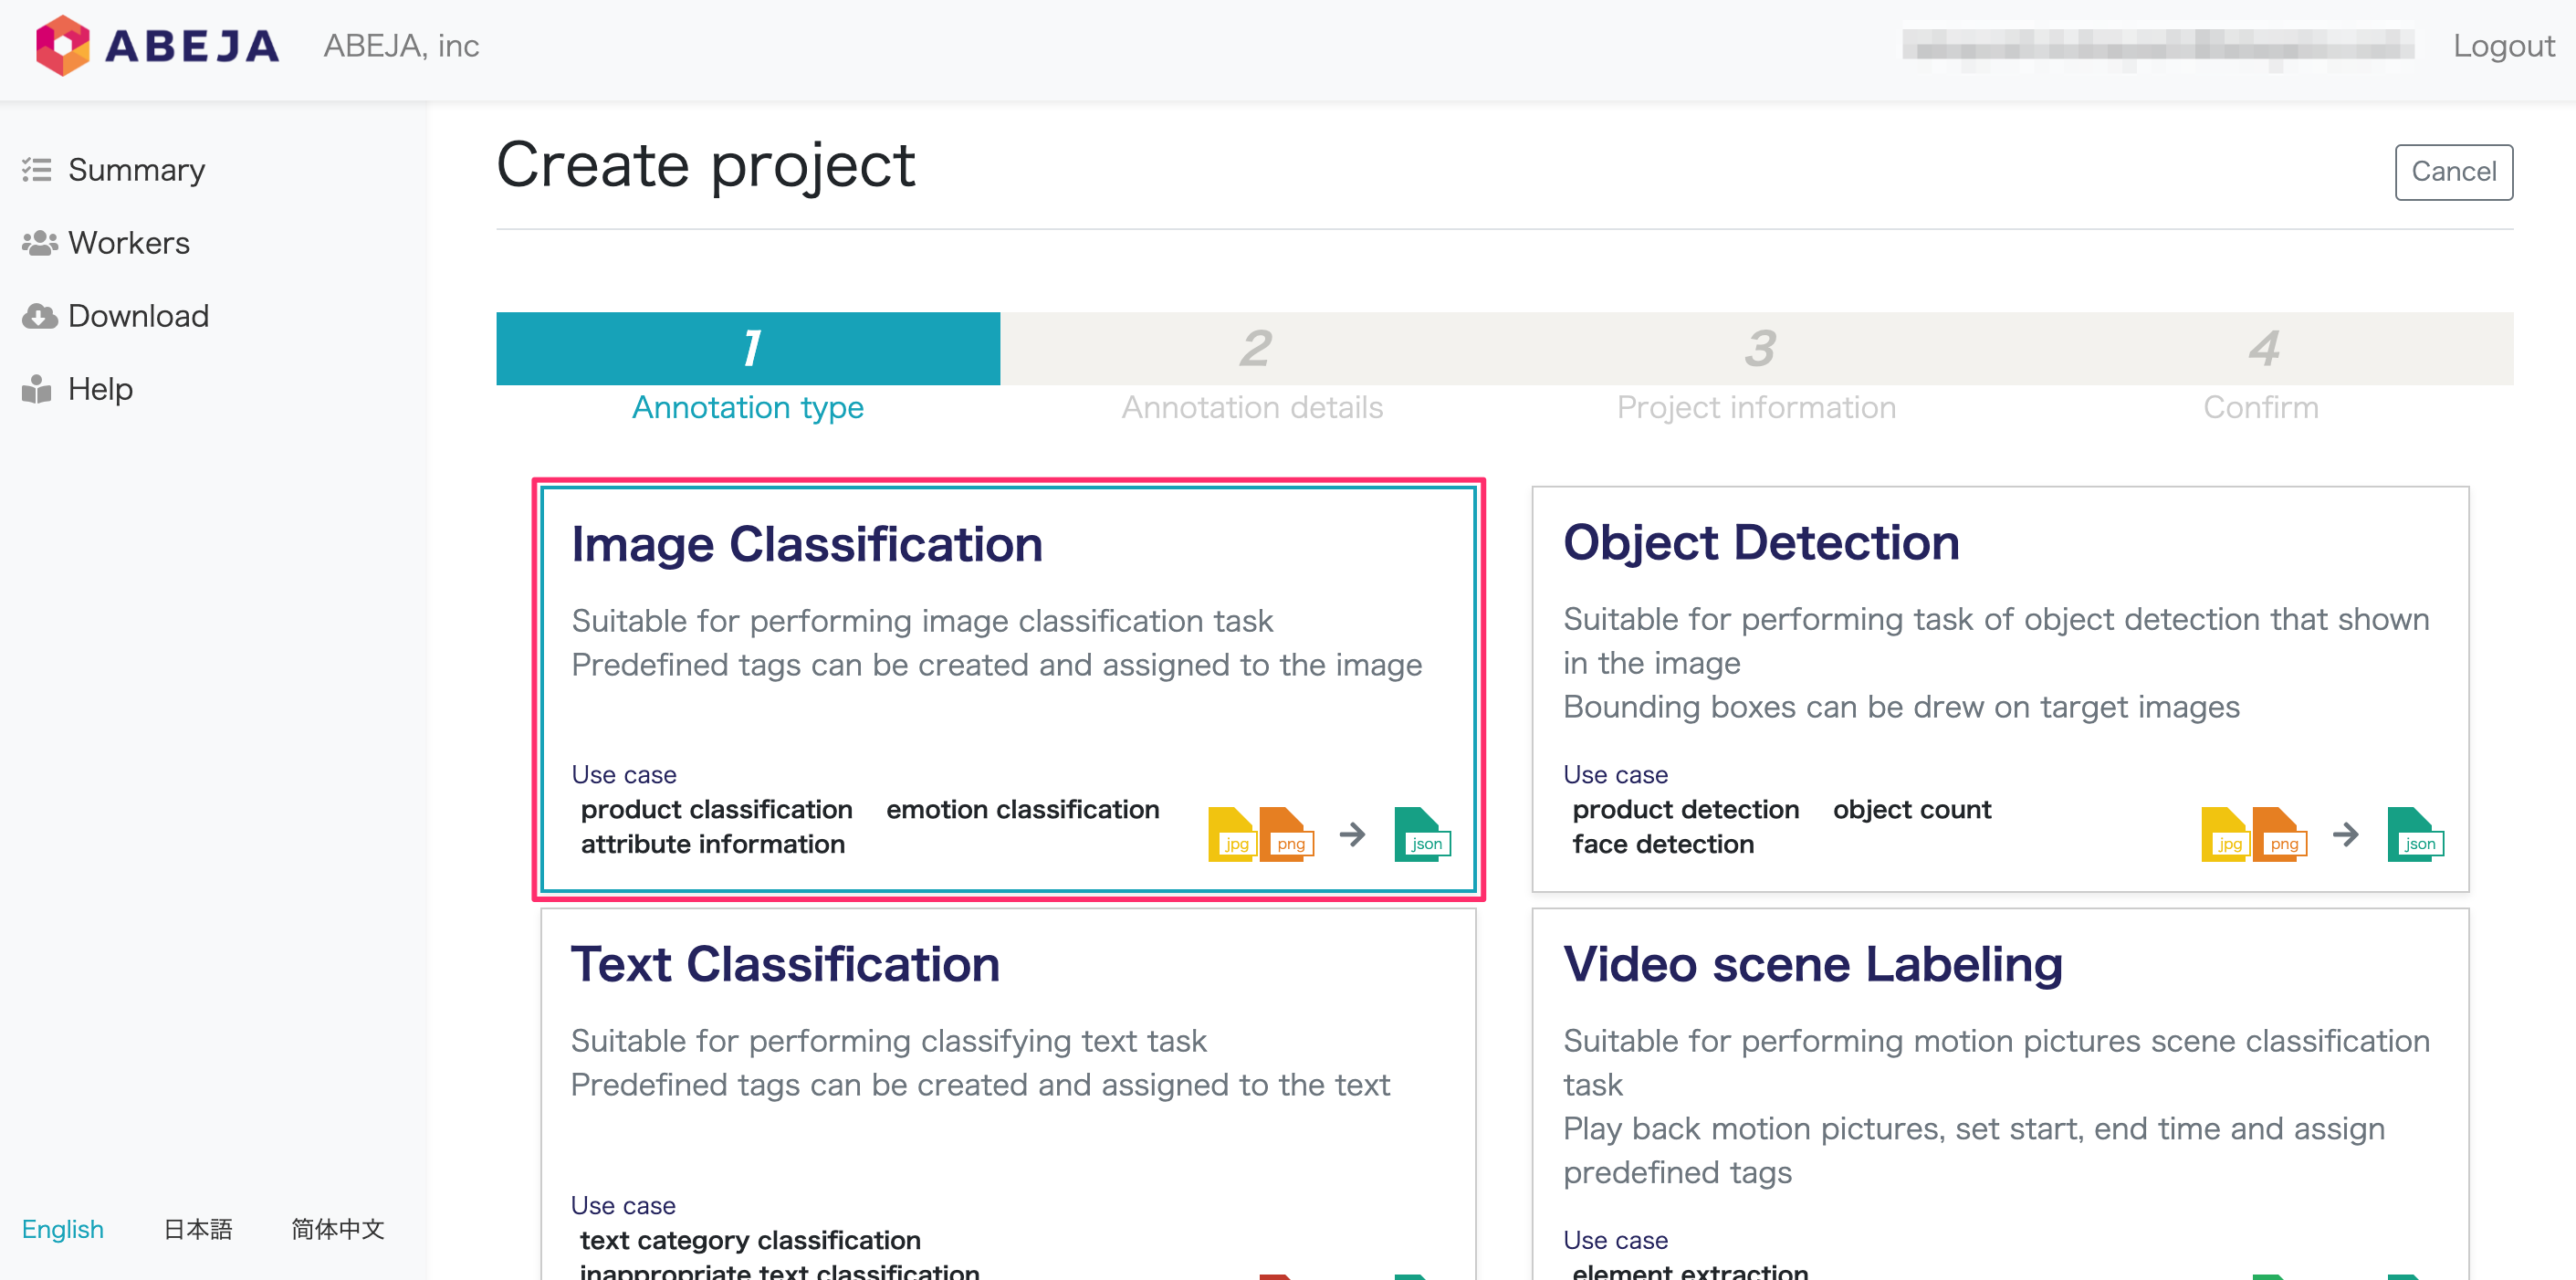
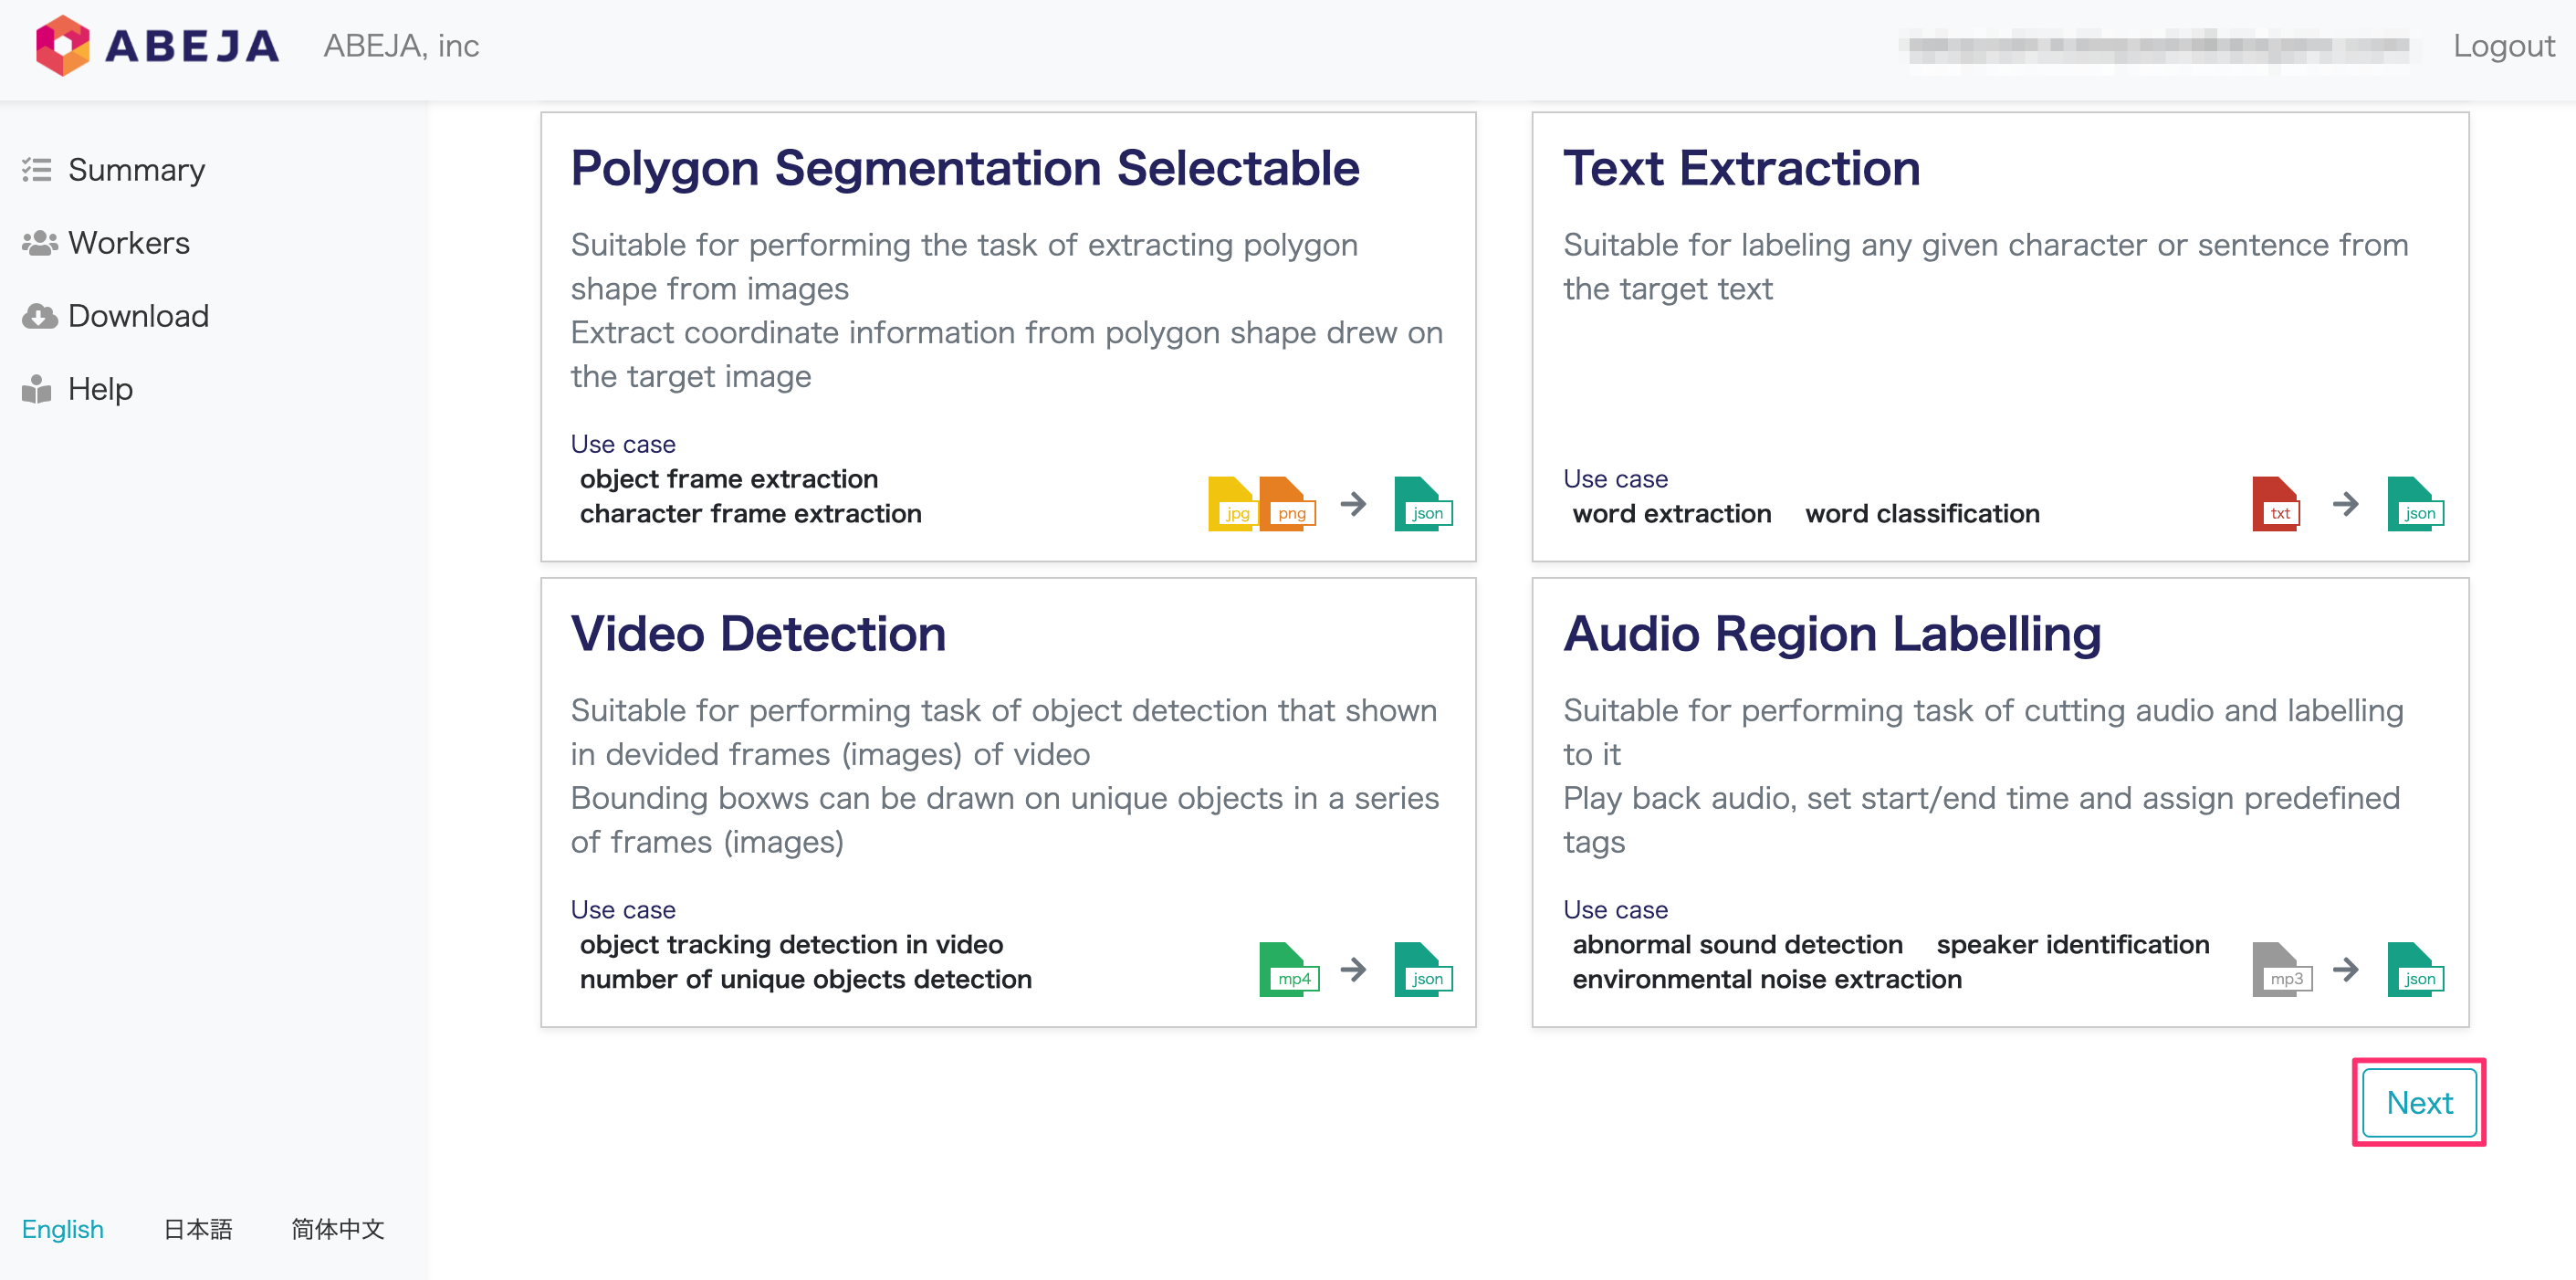
Select “Image Classification” from “Create a new Project” and select “Next”.
Next, select “Annotation by select” and enter the following items in the Category 1 and Labels fields.
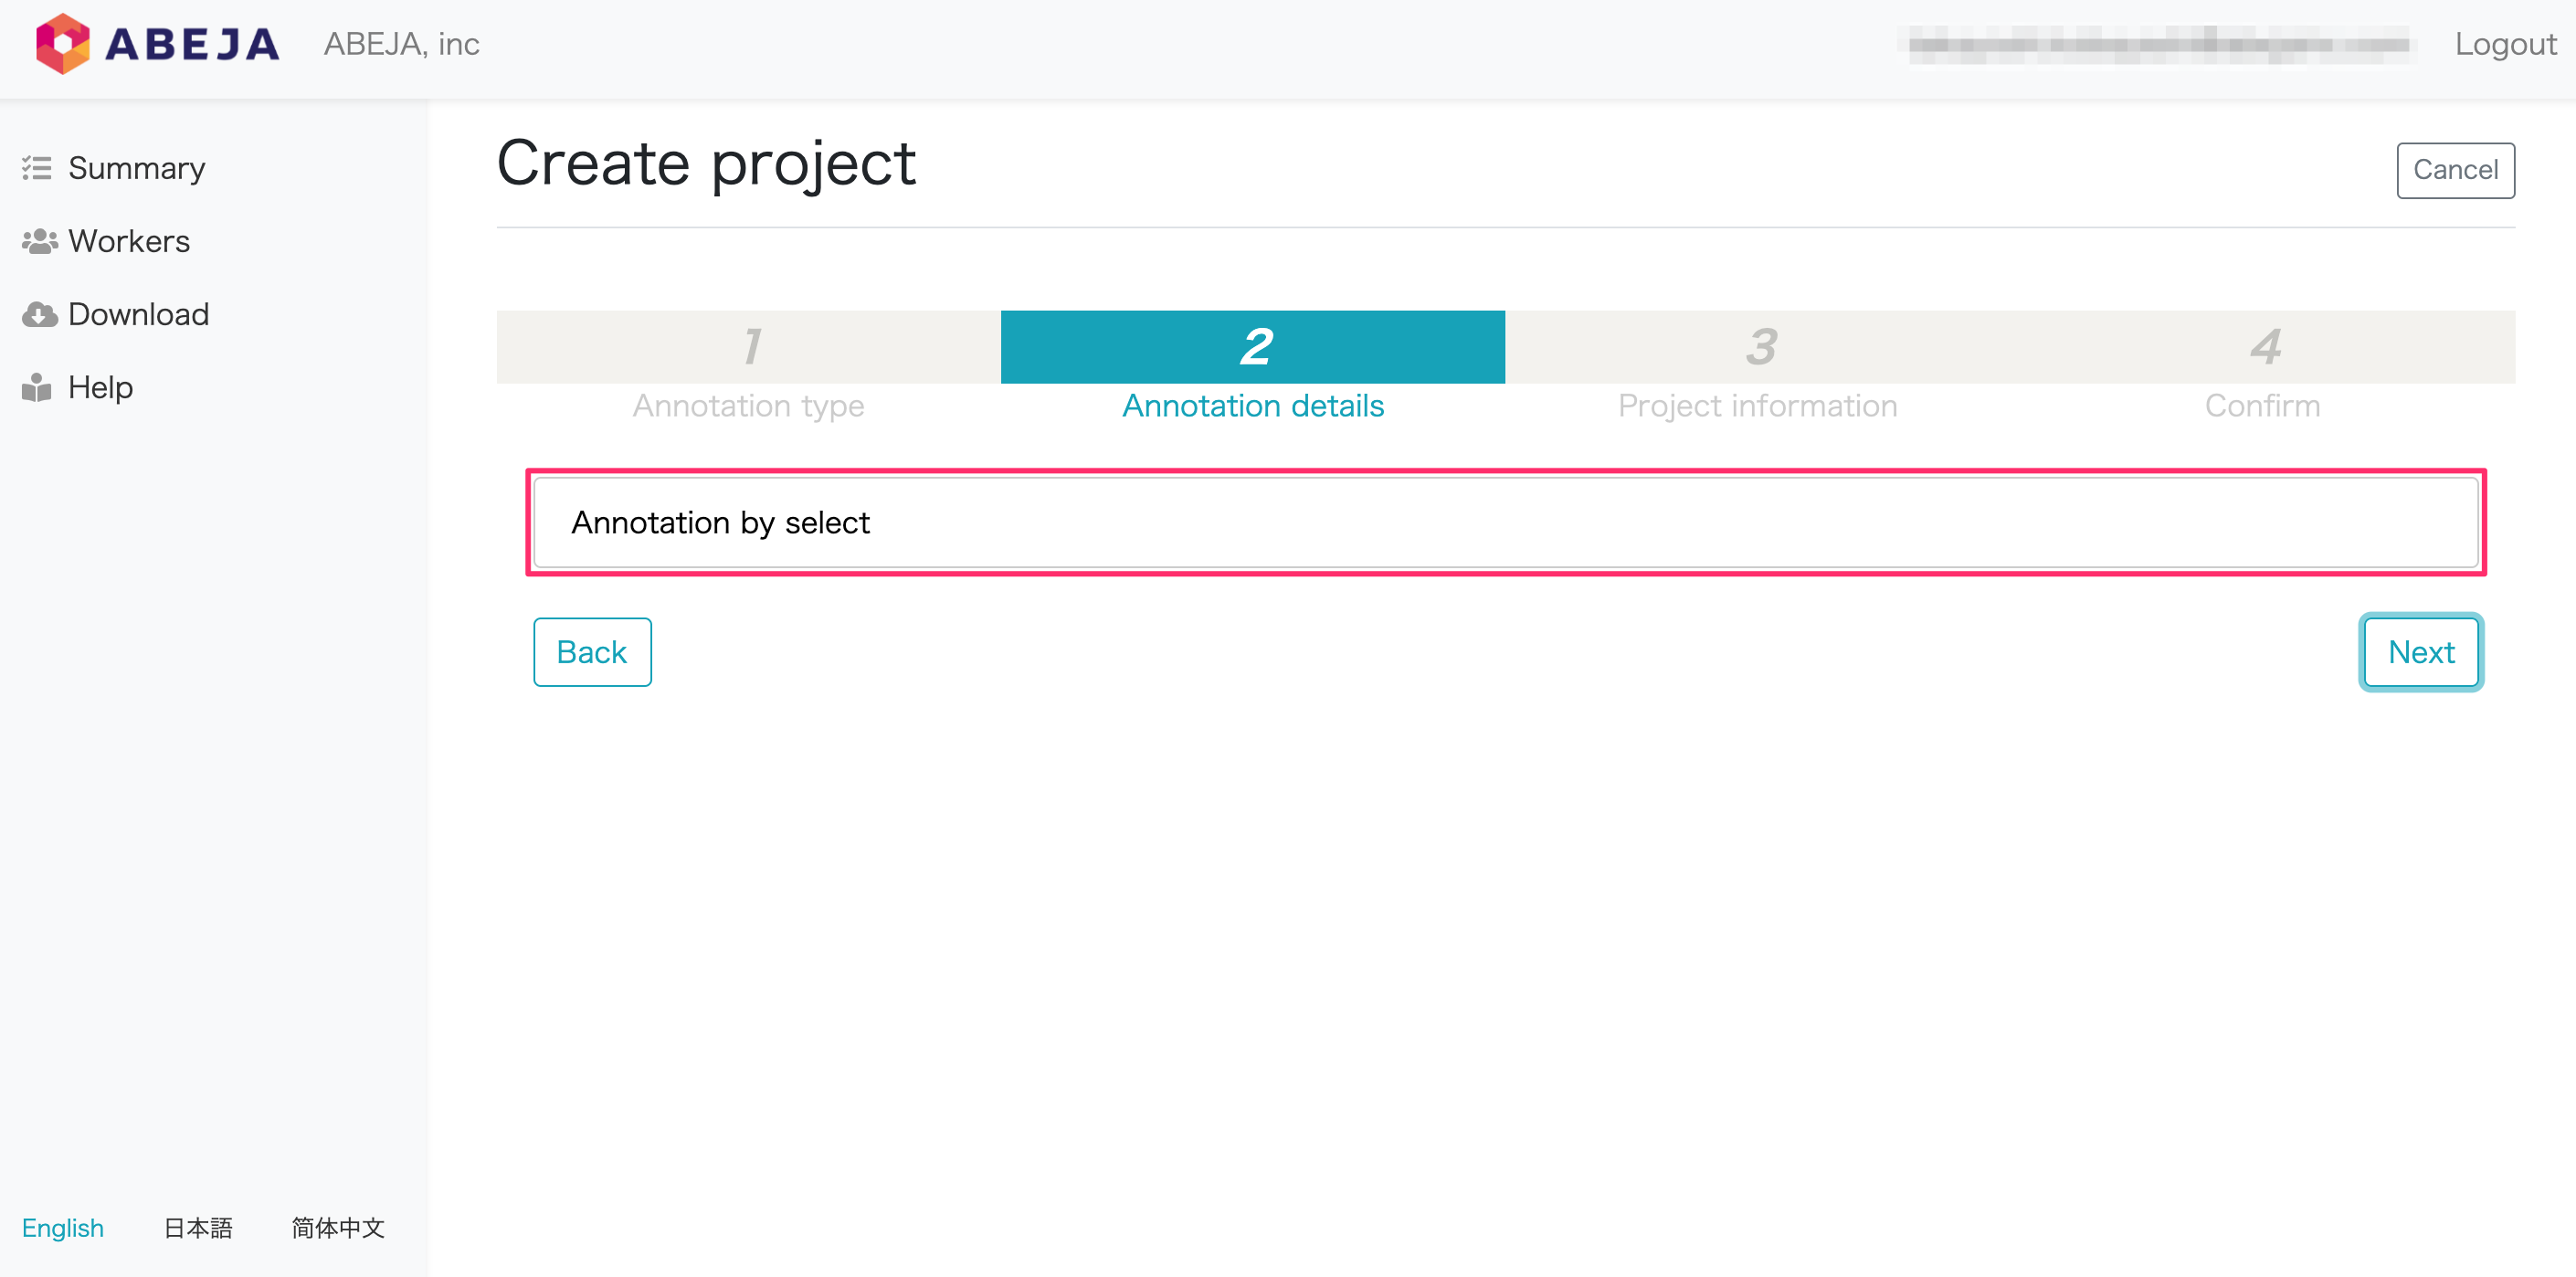
Category 1
| id | Name |
|---|---|
| 0 | clothes |
Labels
| id | Name |
|---|---|
| 0 | jeans |
| 1 | denim_skirt |
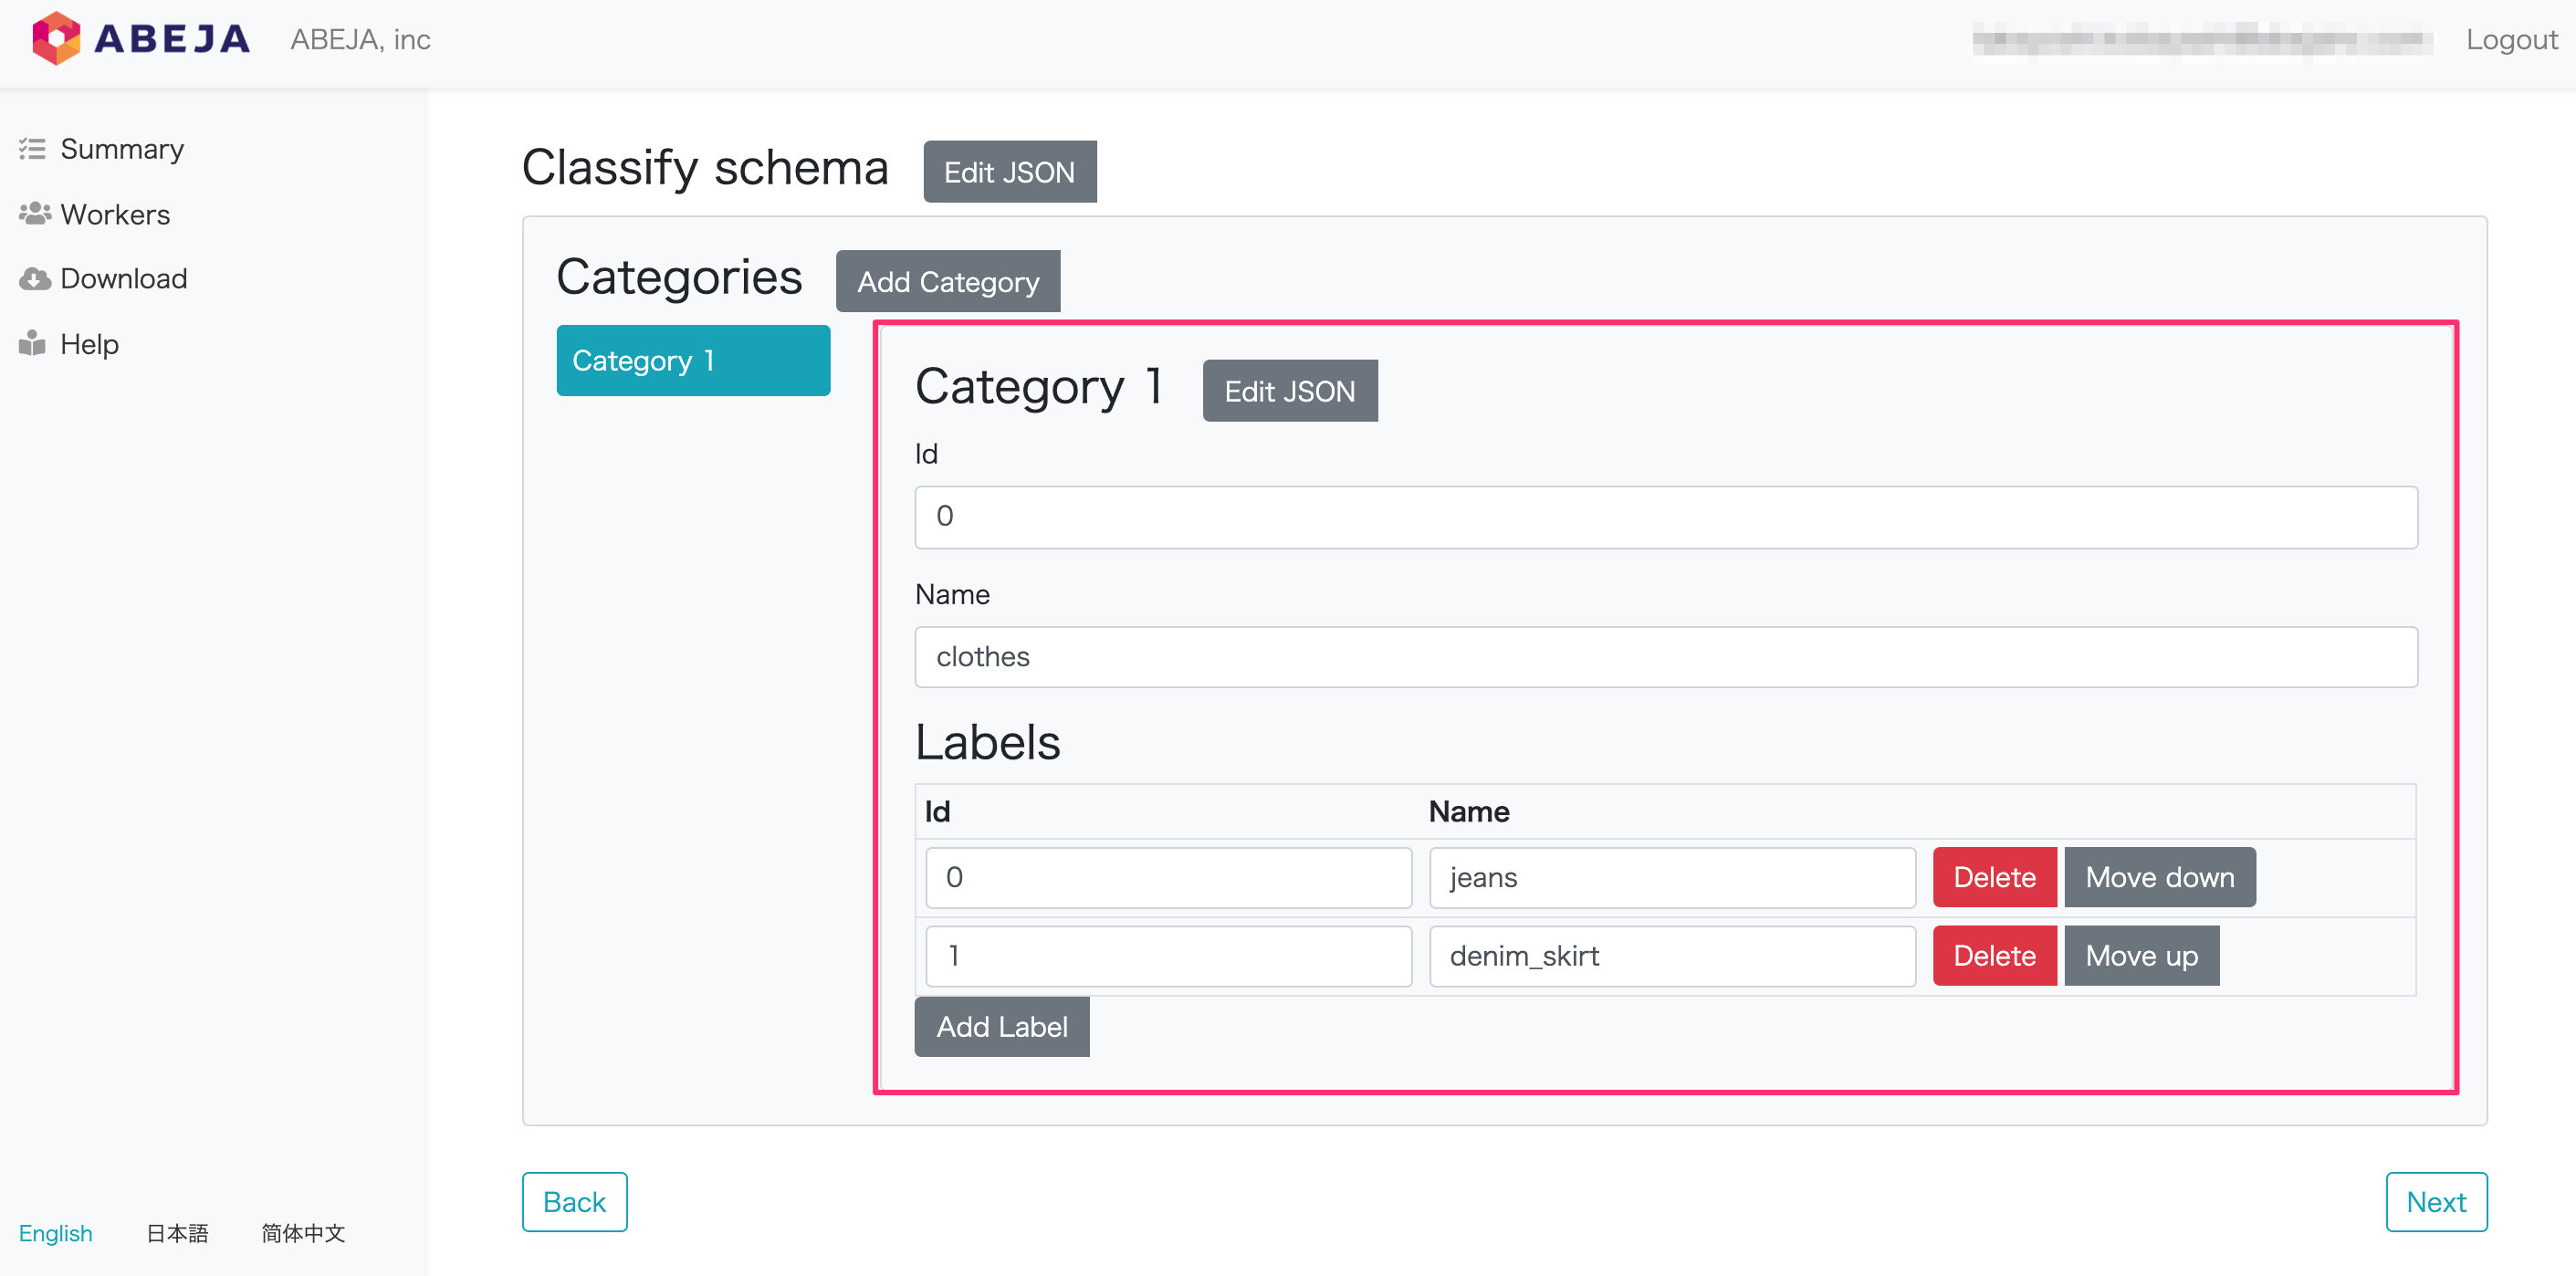
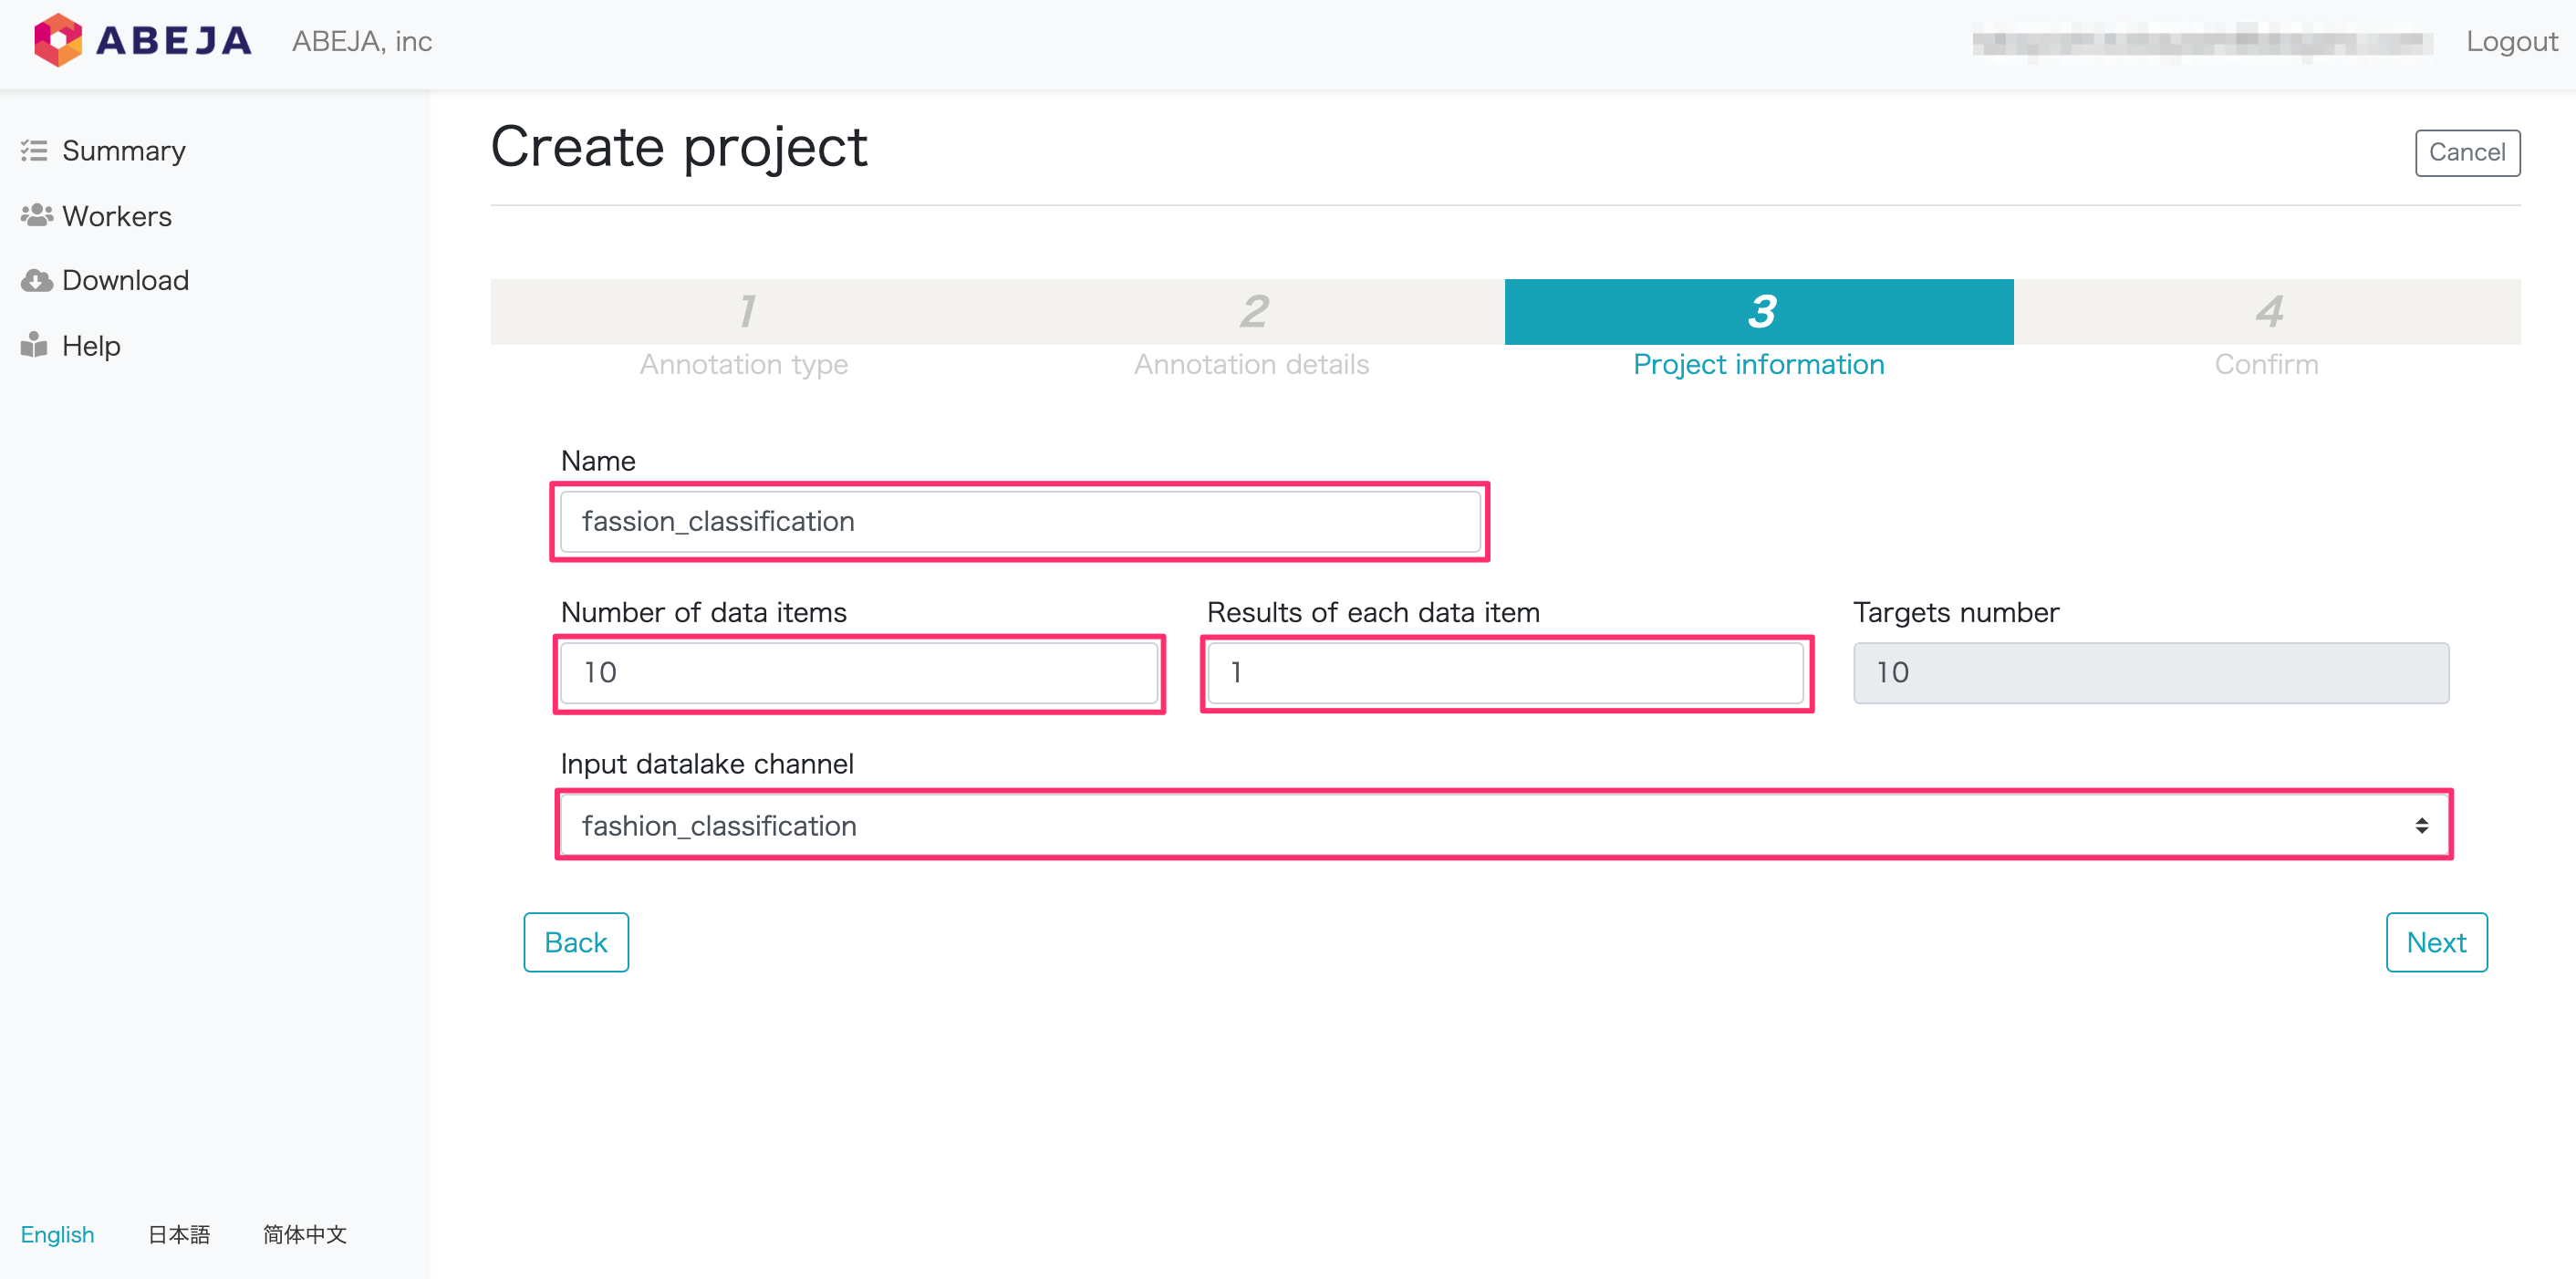
After entering, select “Next”.
| Item | Value | Remark |
|---|---|---|
| Name | Any Value | Project Name |
| Number of data items | Any Value | - |
| Results of each data item | 1 | e.g : Classification |
| Targets number | - | - |
| Input datalake channel | Select the channel of the created datalake | - |
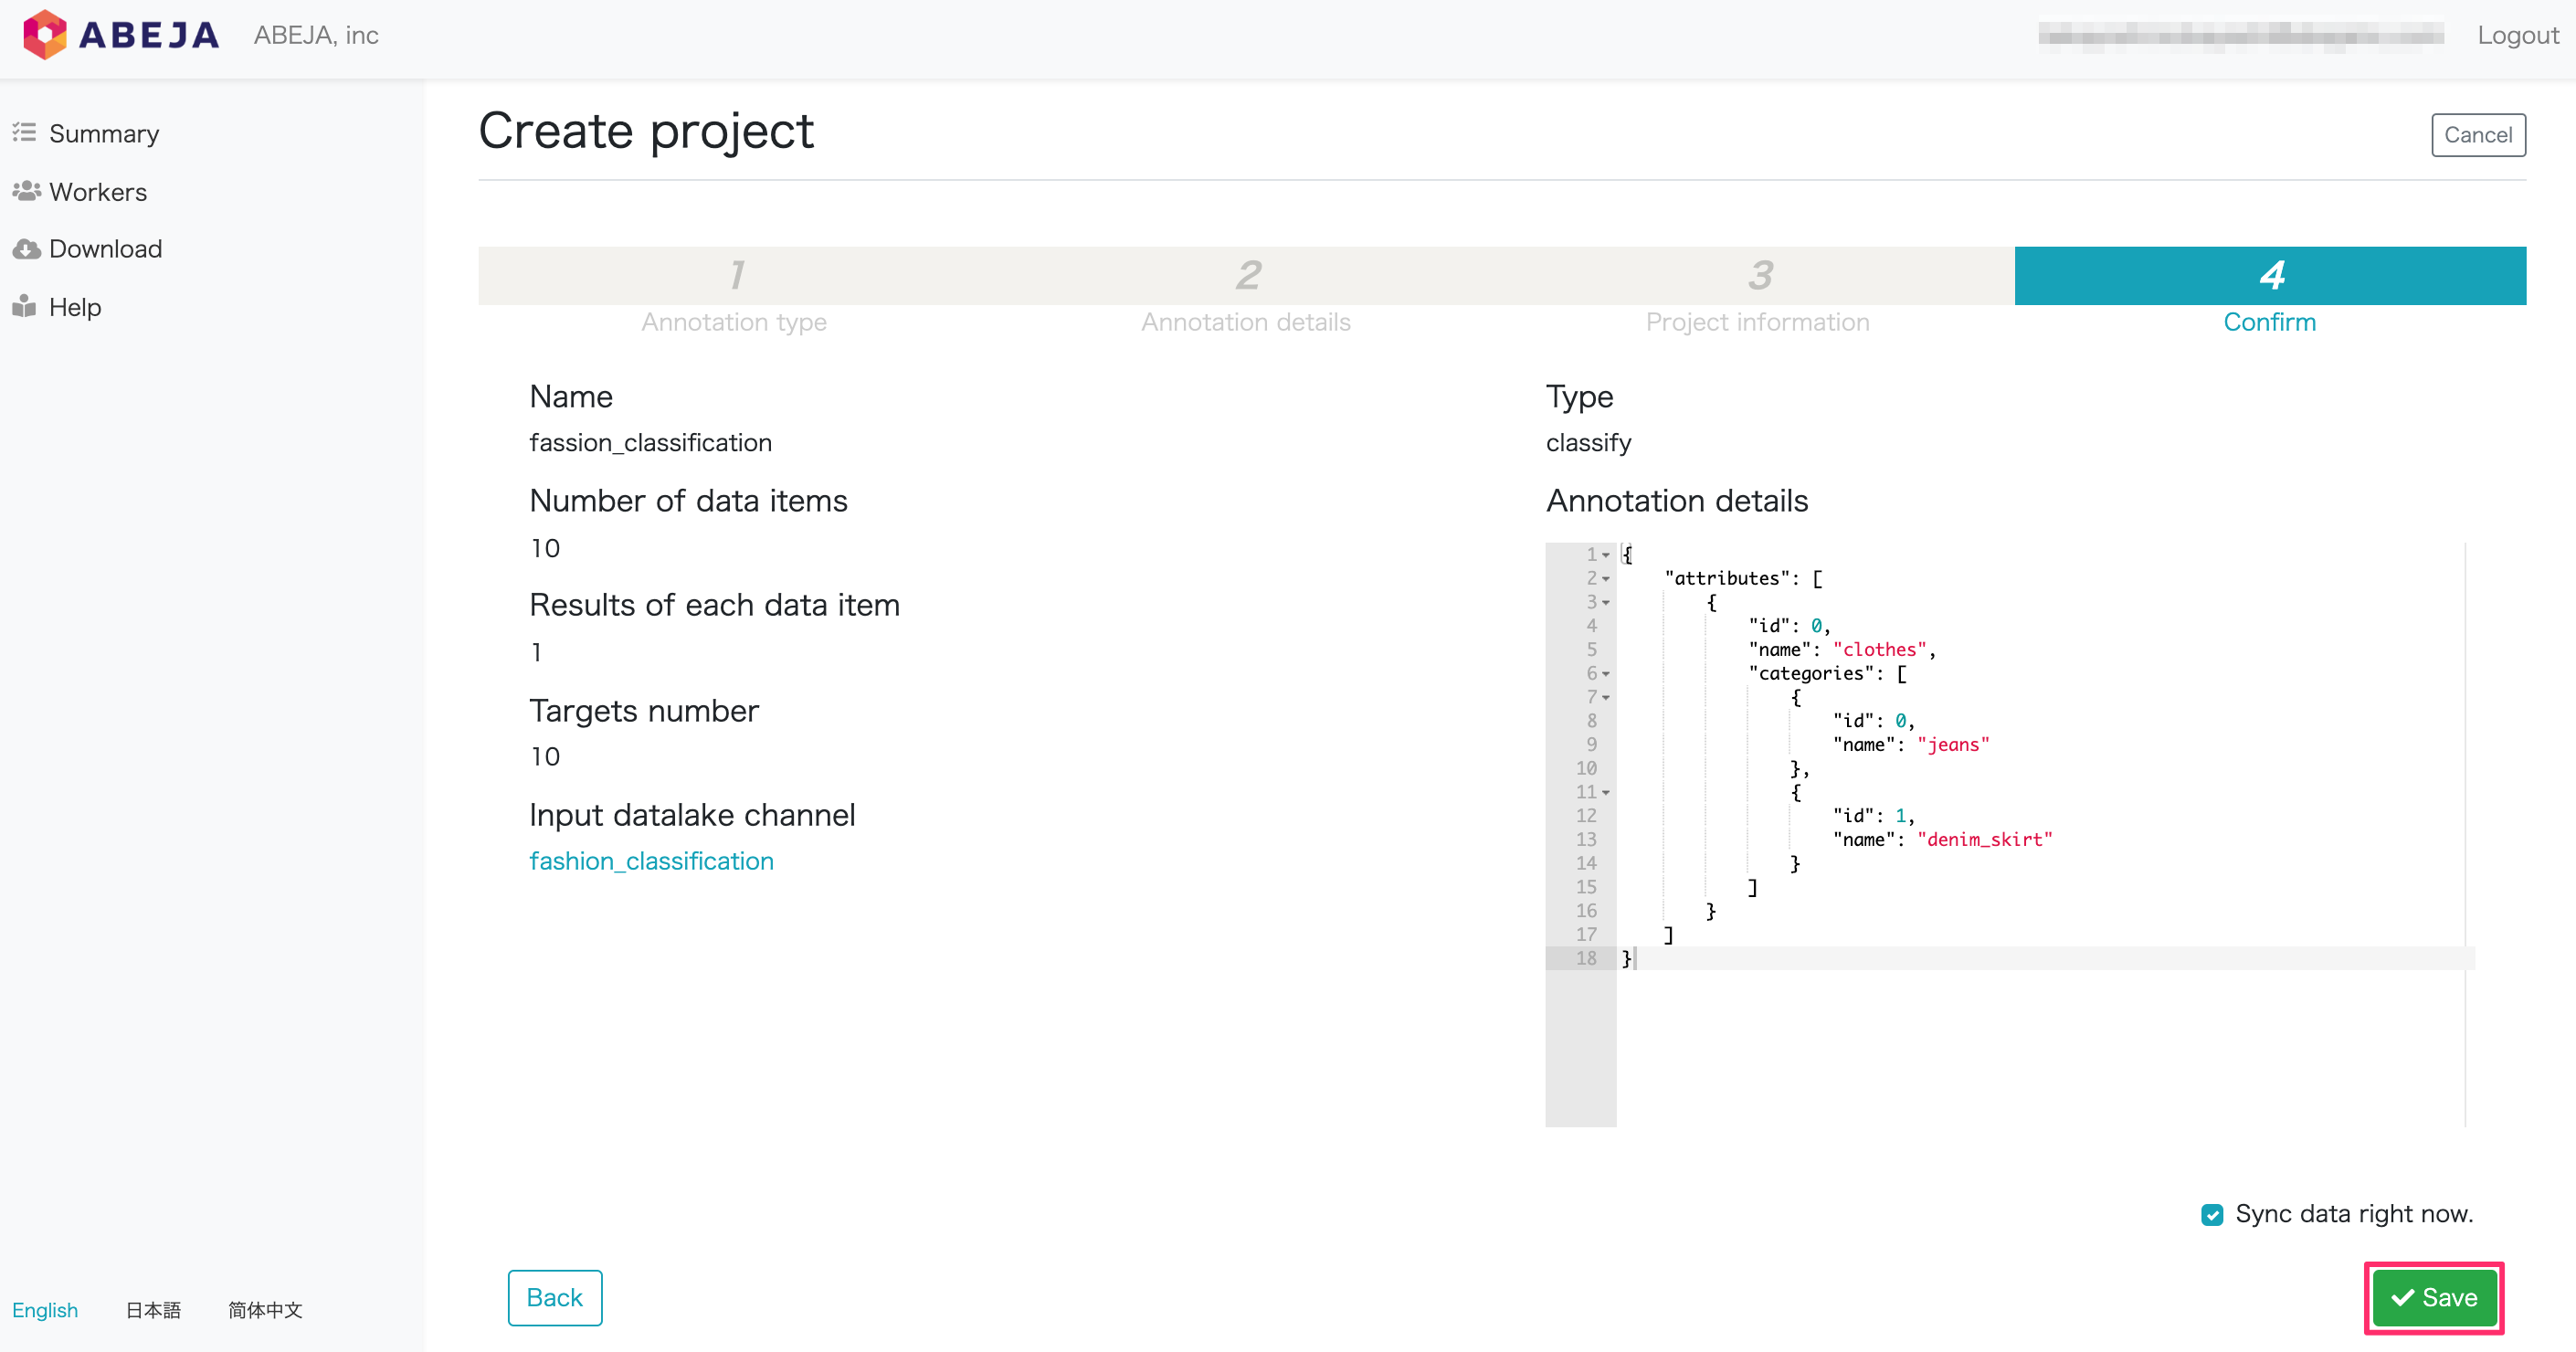
Confirm the last entry and select “Save”.
Annotation work
Next, work on the created annotation project.

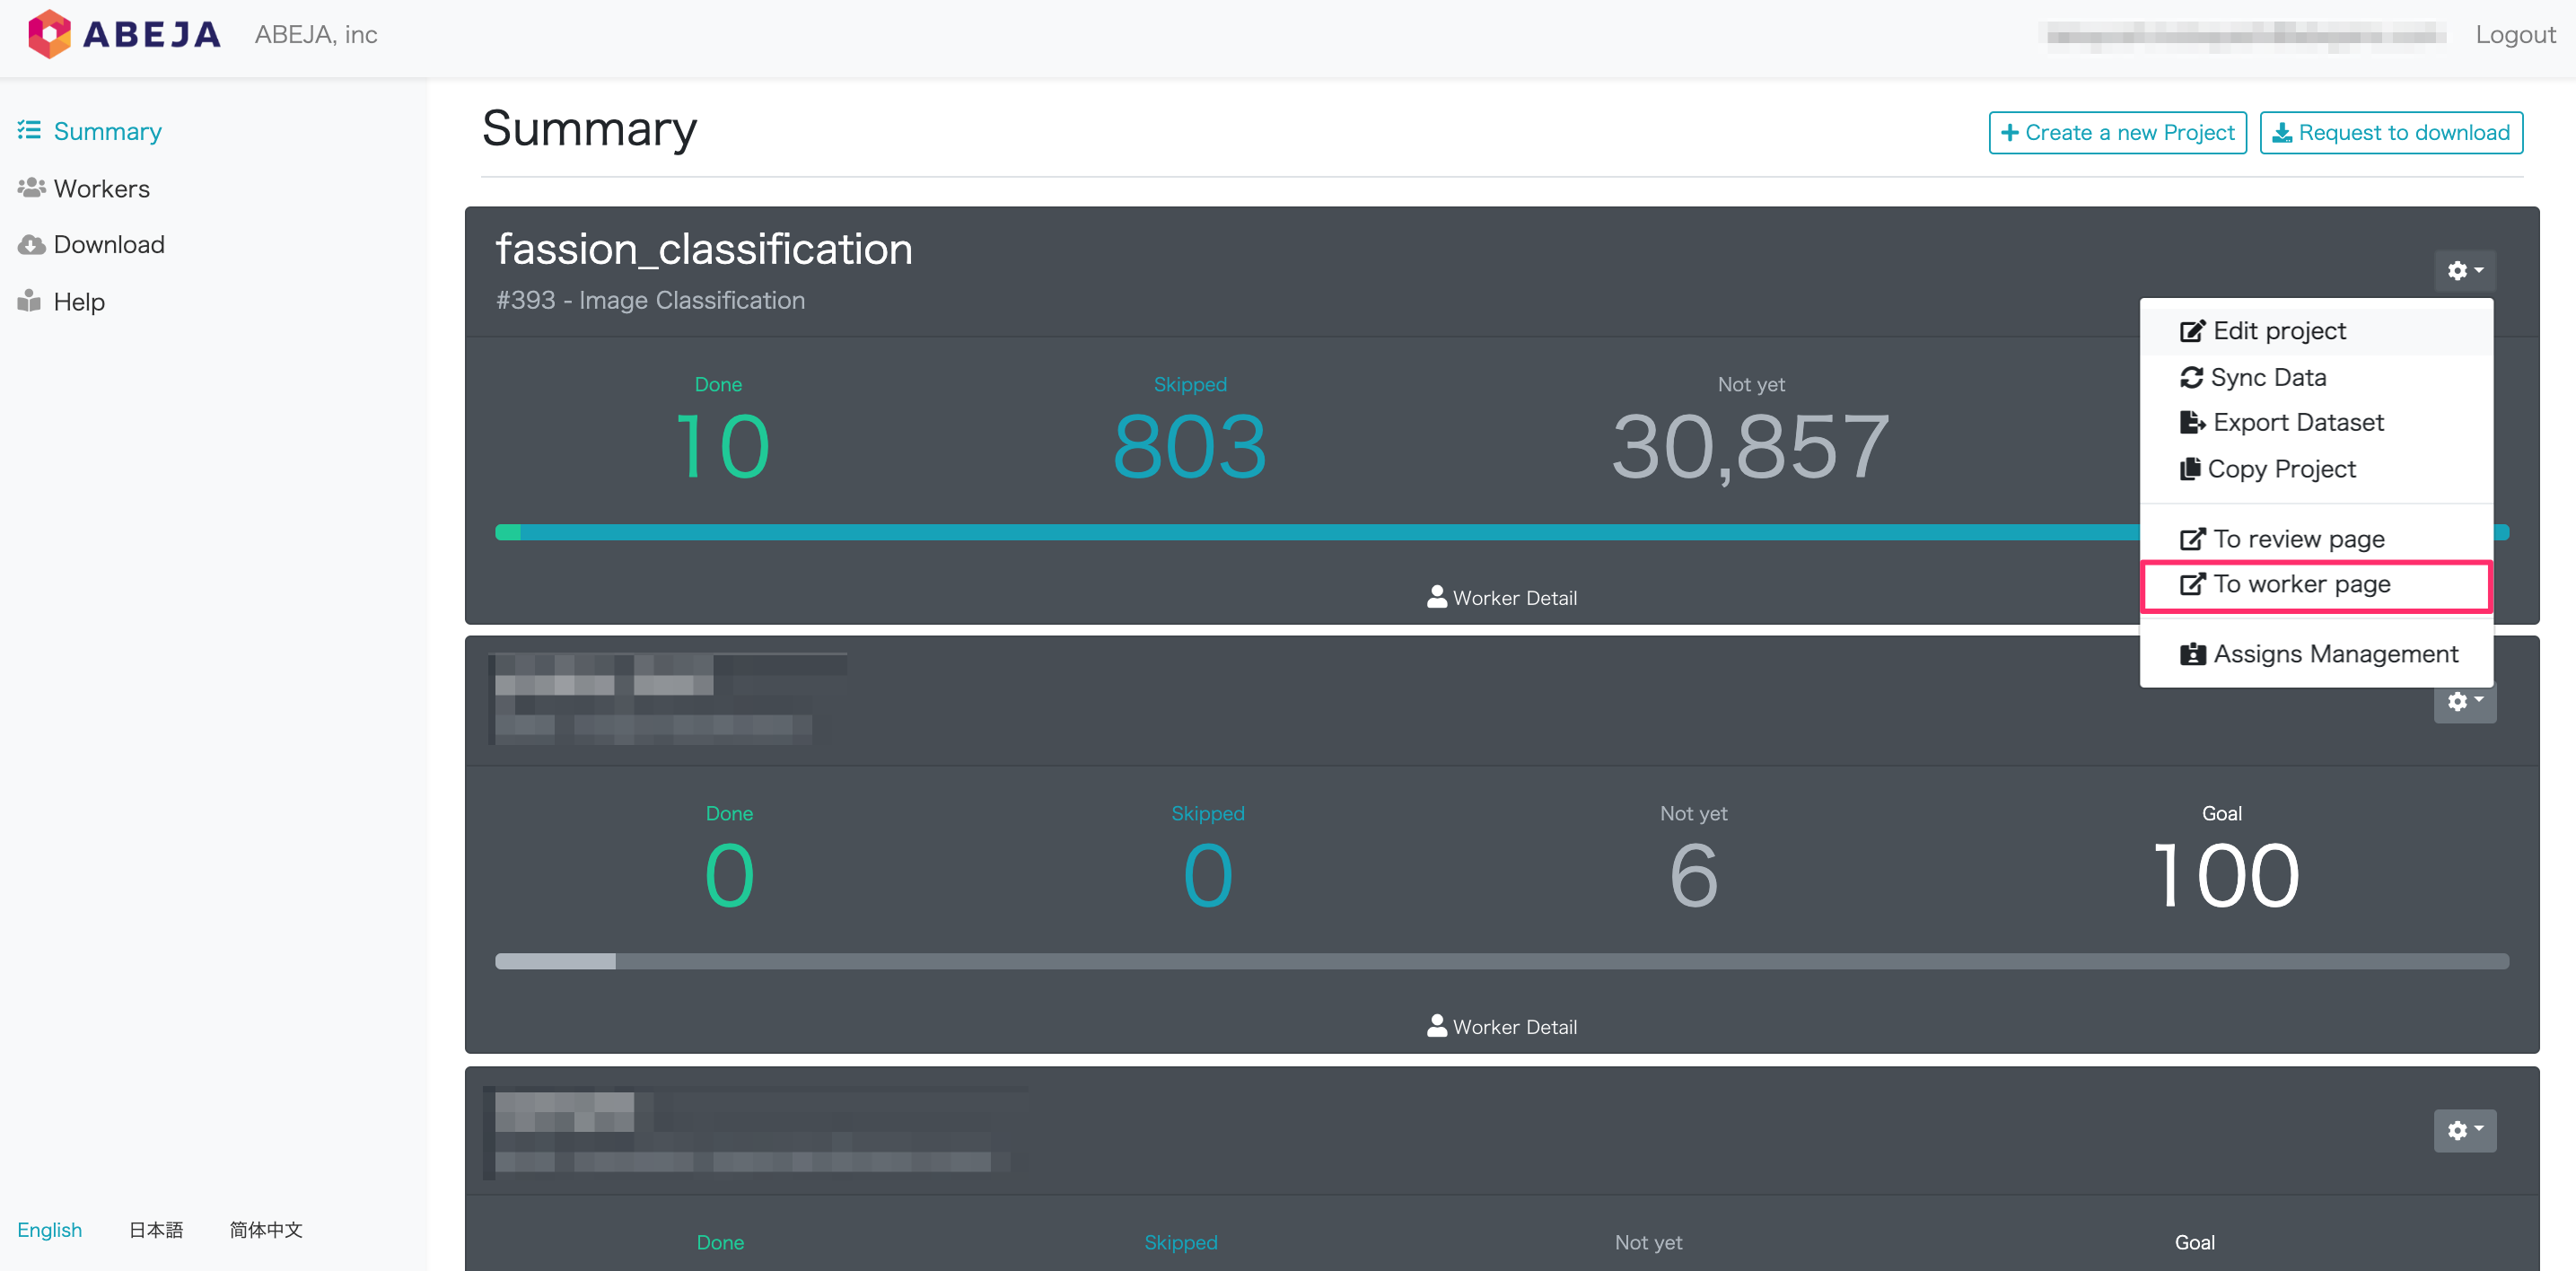
Click the work screen from the gear icon in the upper right of the created project.
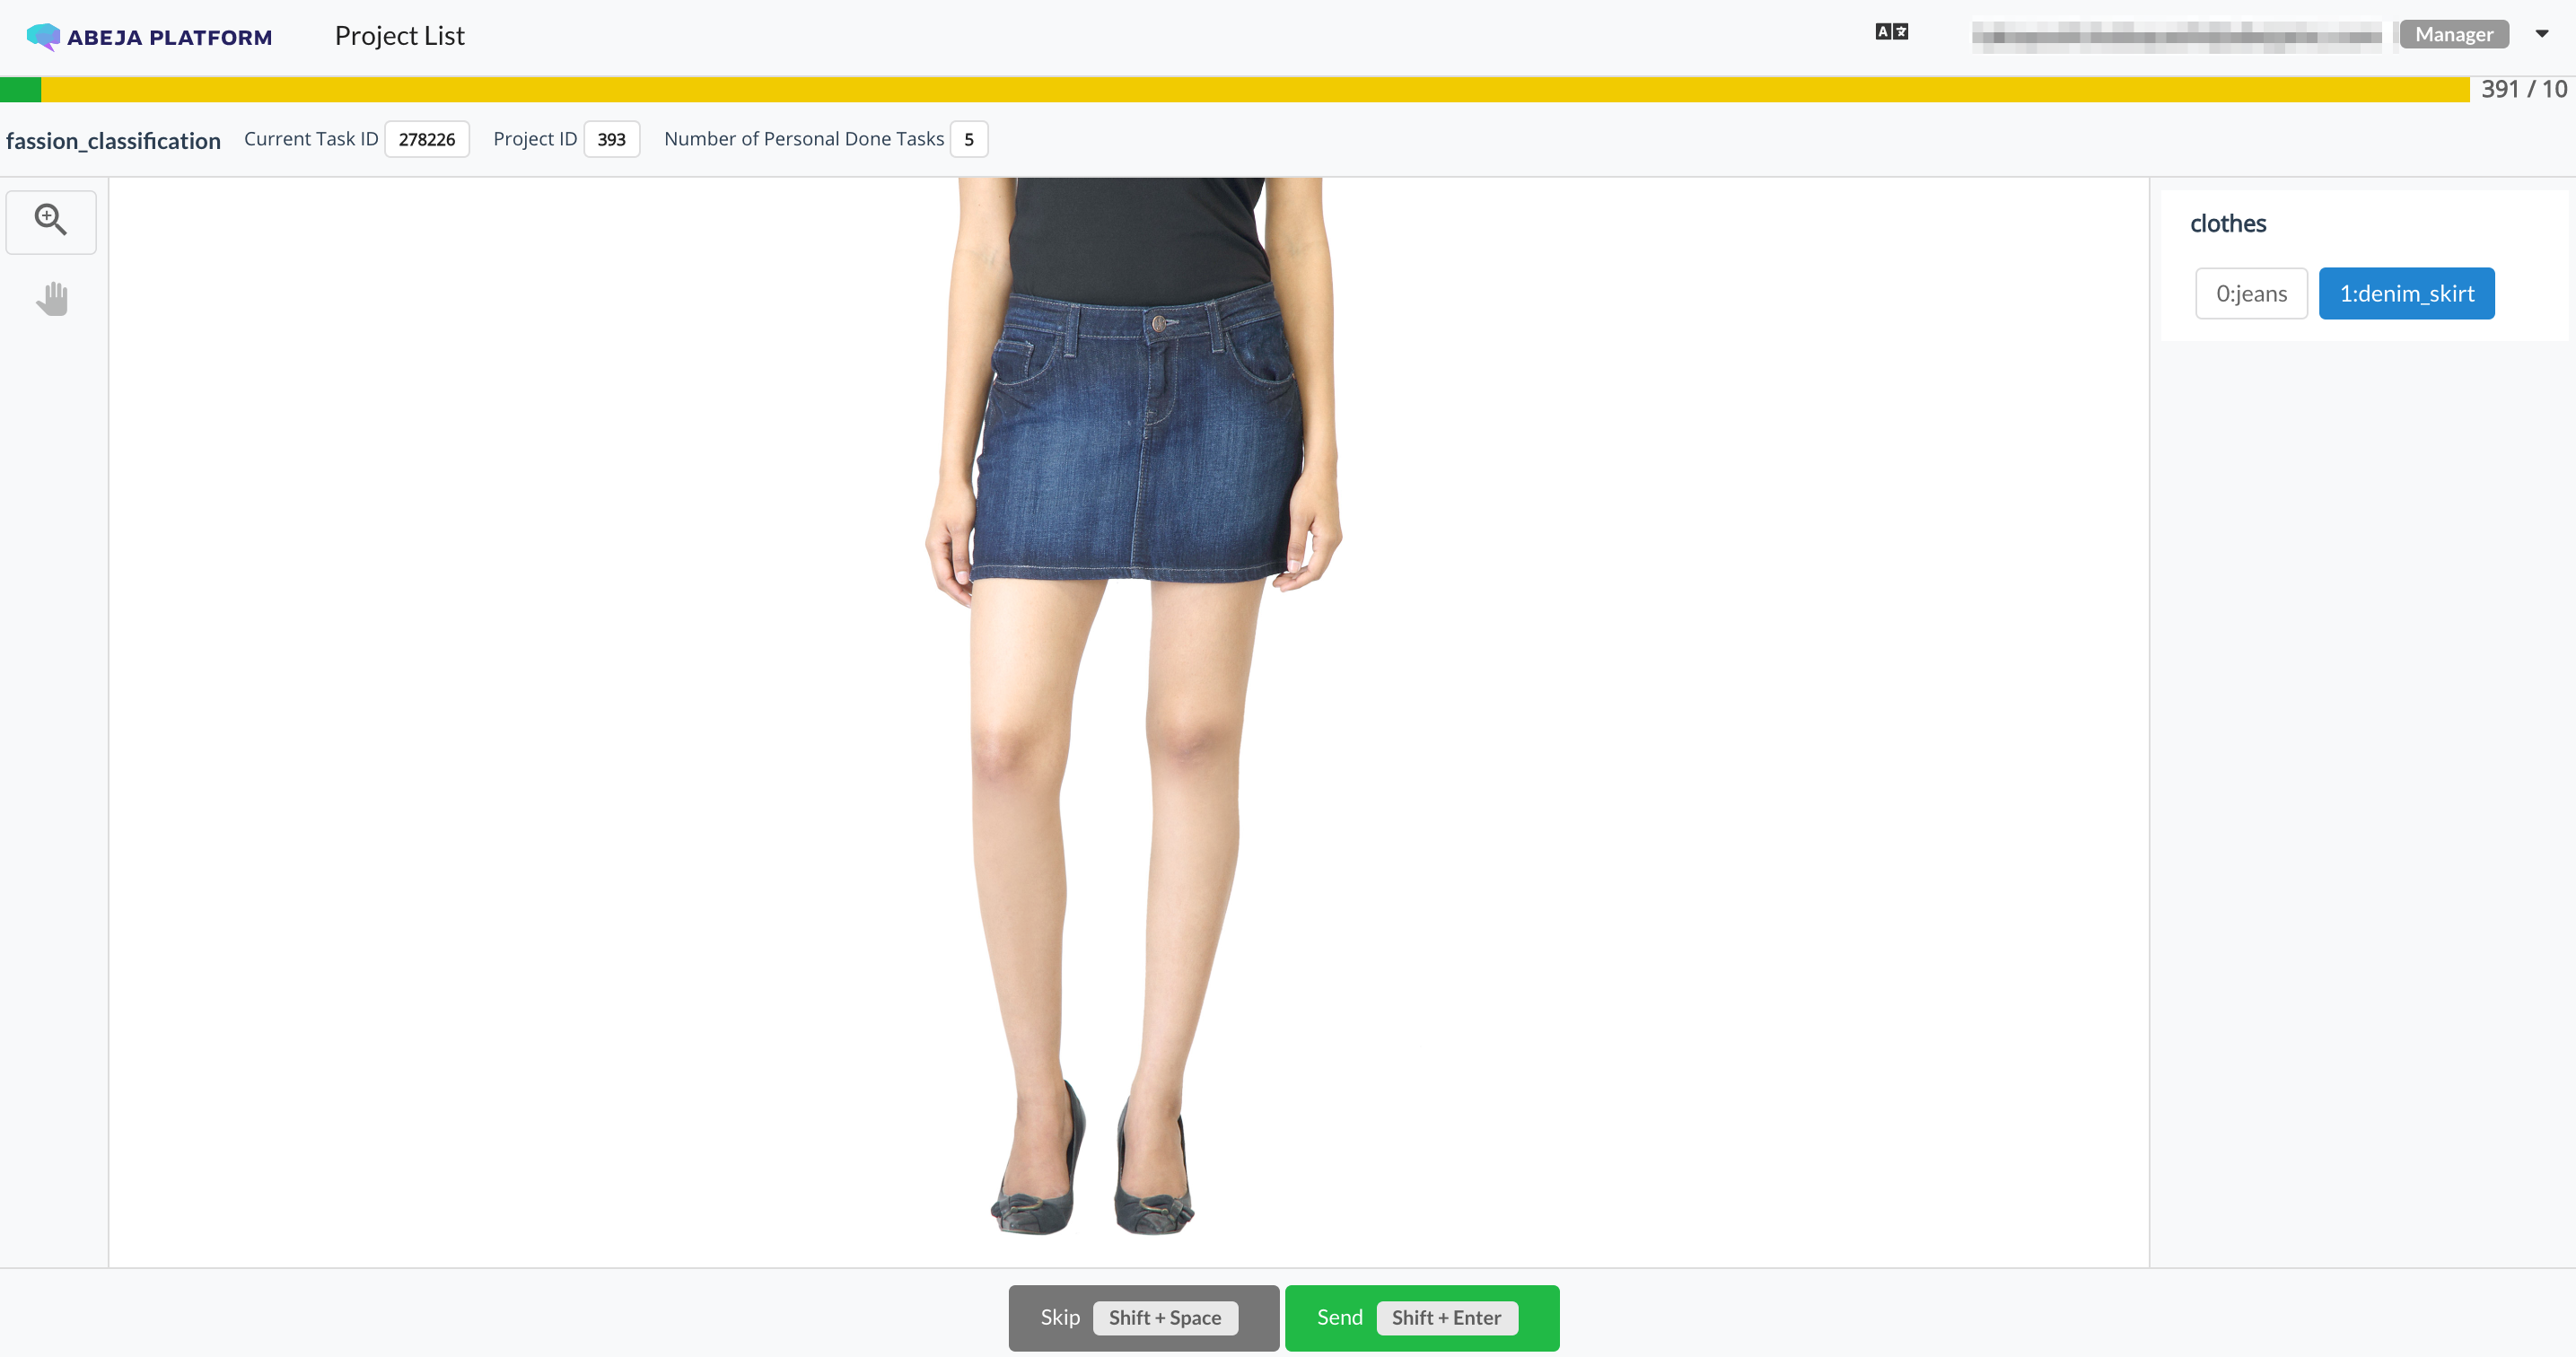
The category set on the right side of the screen is displayed. Select “Send” at the bottom of the screen.
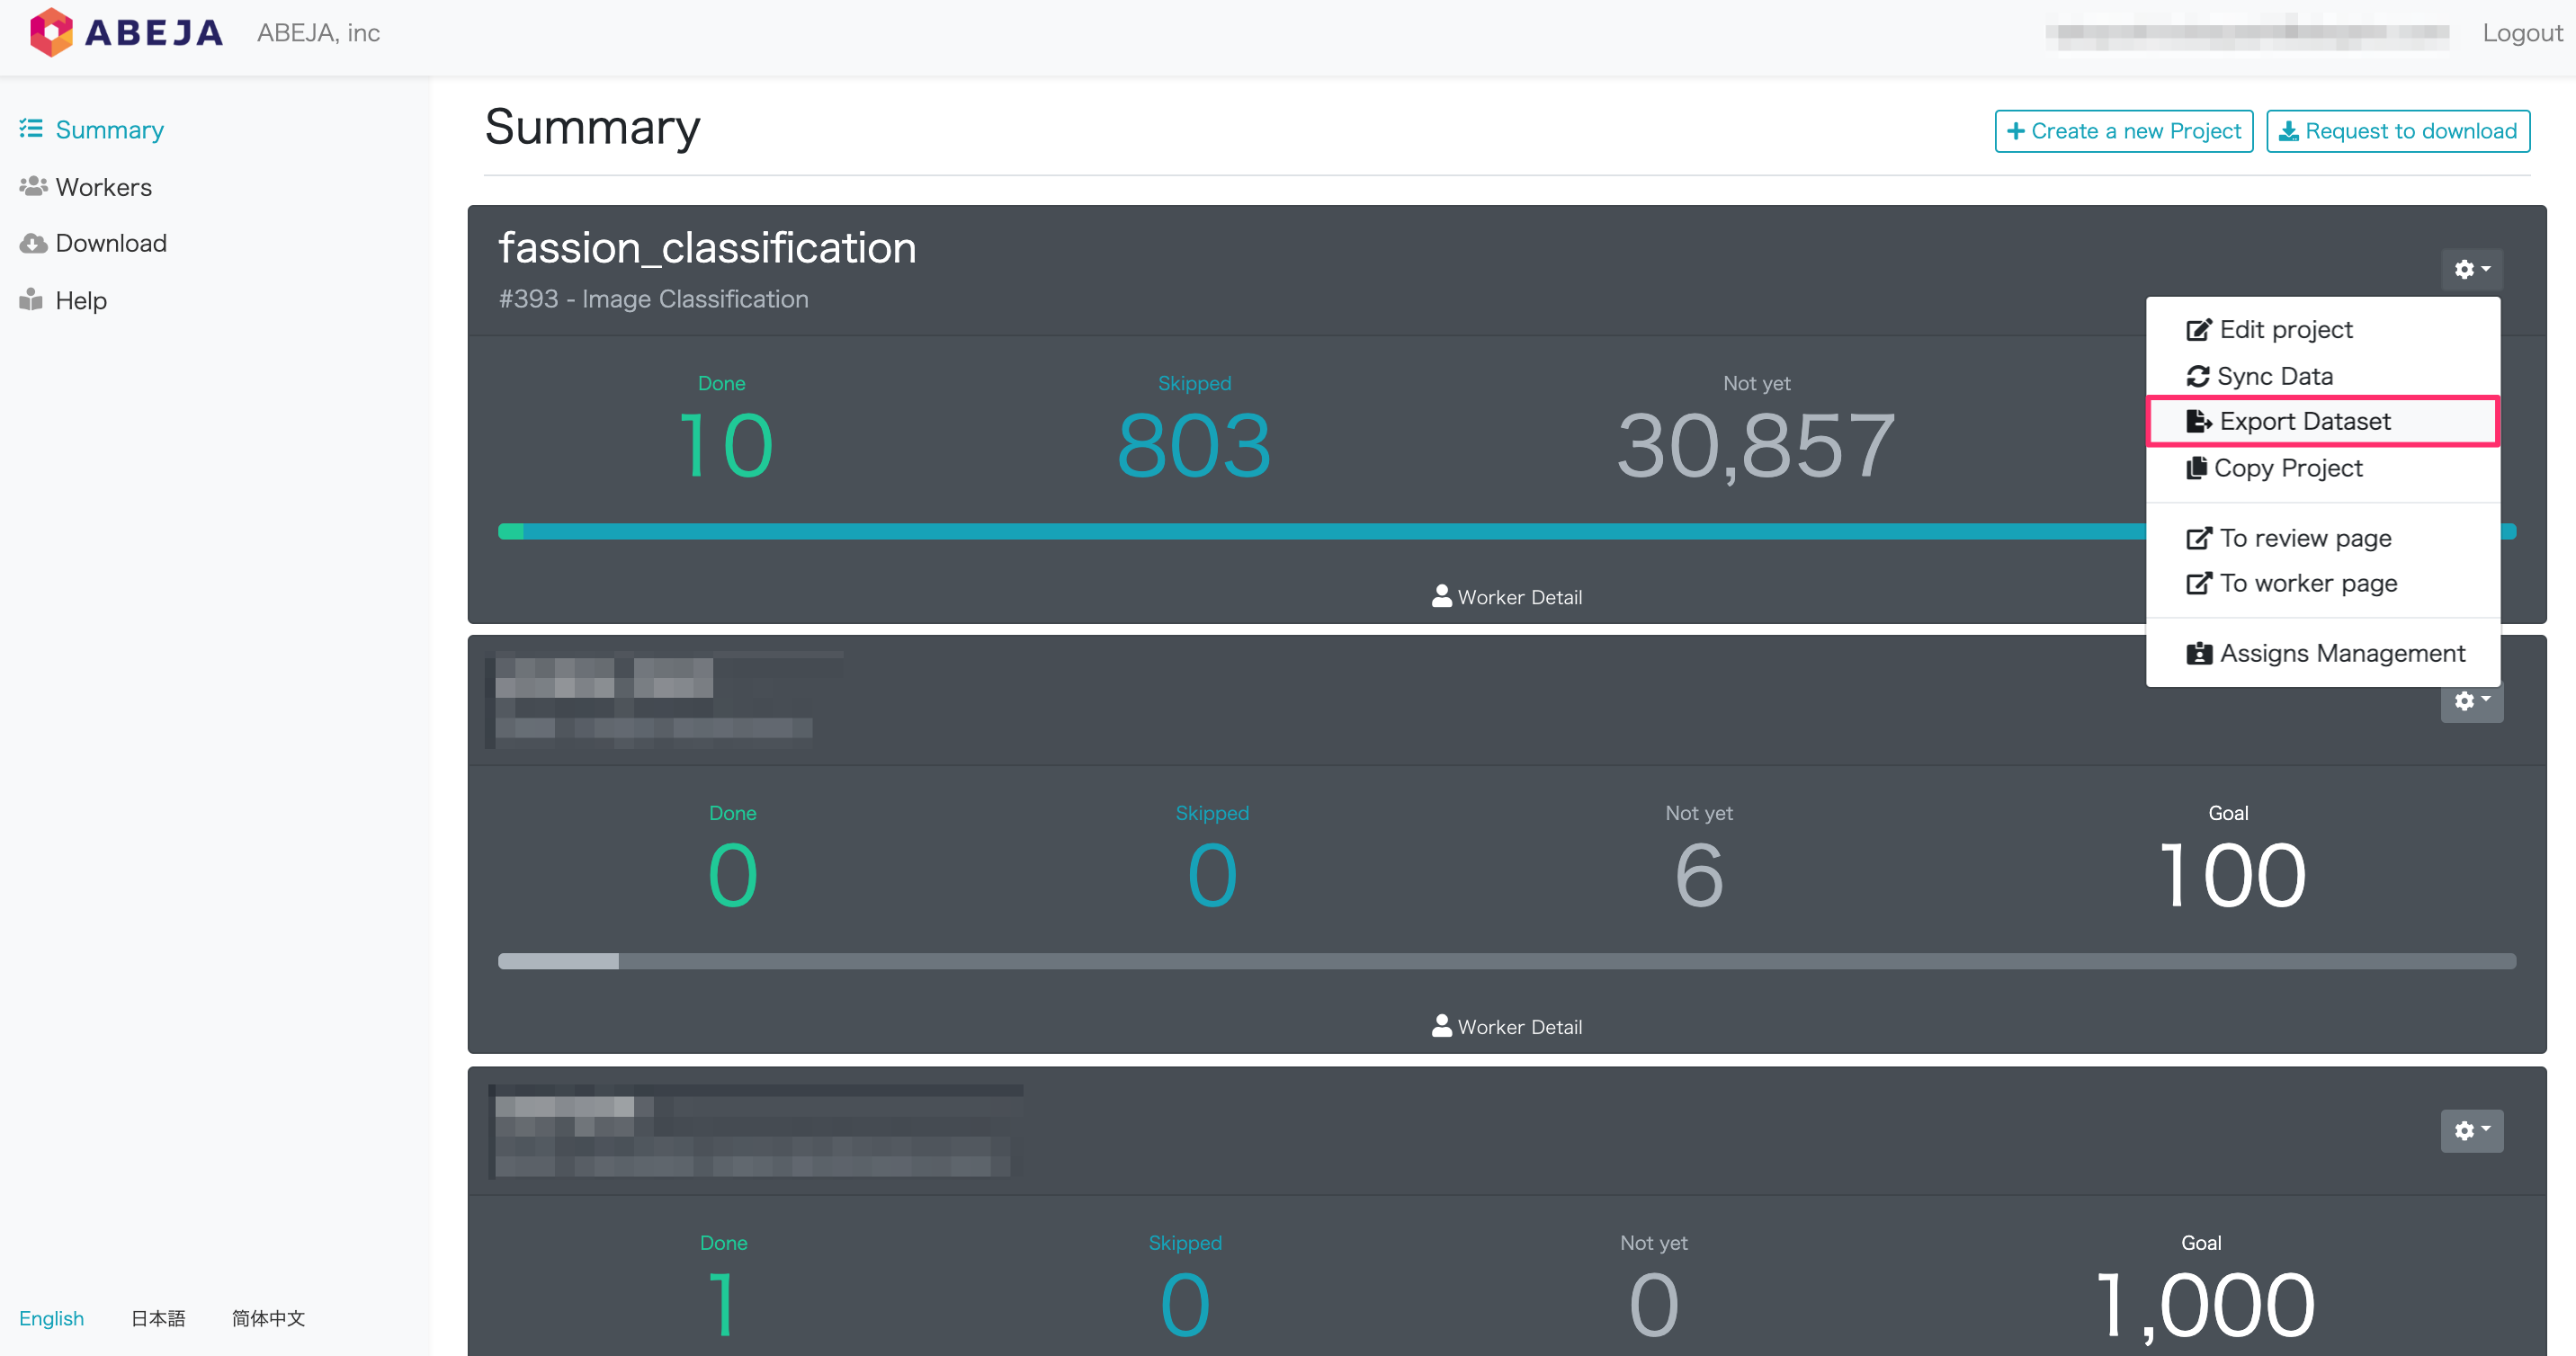
Output the results as a dataset
Annotation results can be output as an ABEJA Platform dataset. It can be used as learning data as it is.
Go to the management summary page.
Click the gear icon on the upper right of the created project and click “To worker page”.
| Item | Value |
|---|---|
| Dataset Name | Any dataset name |
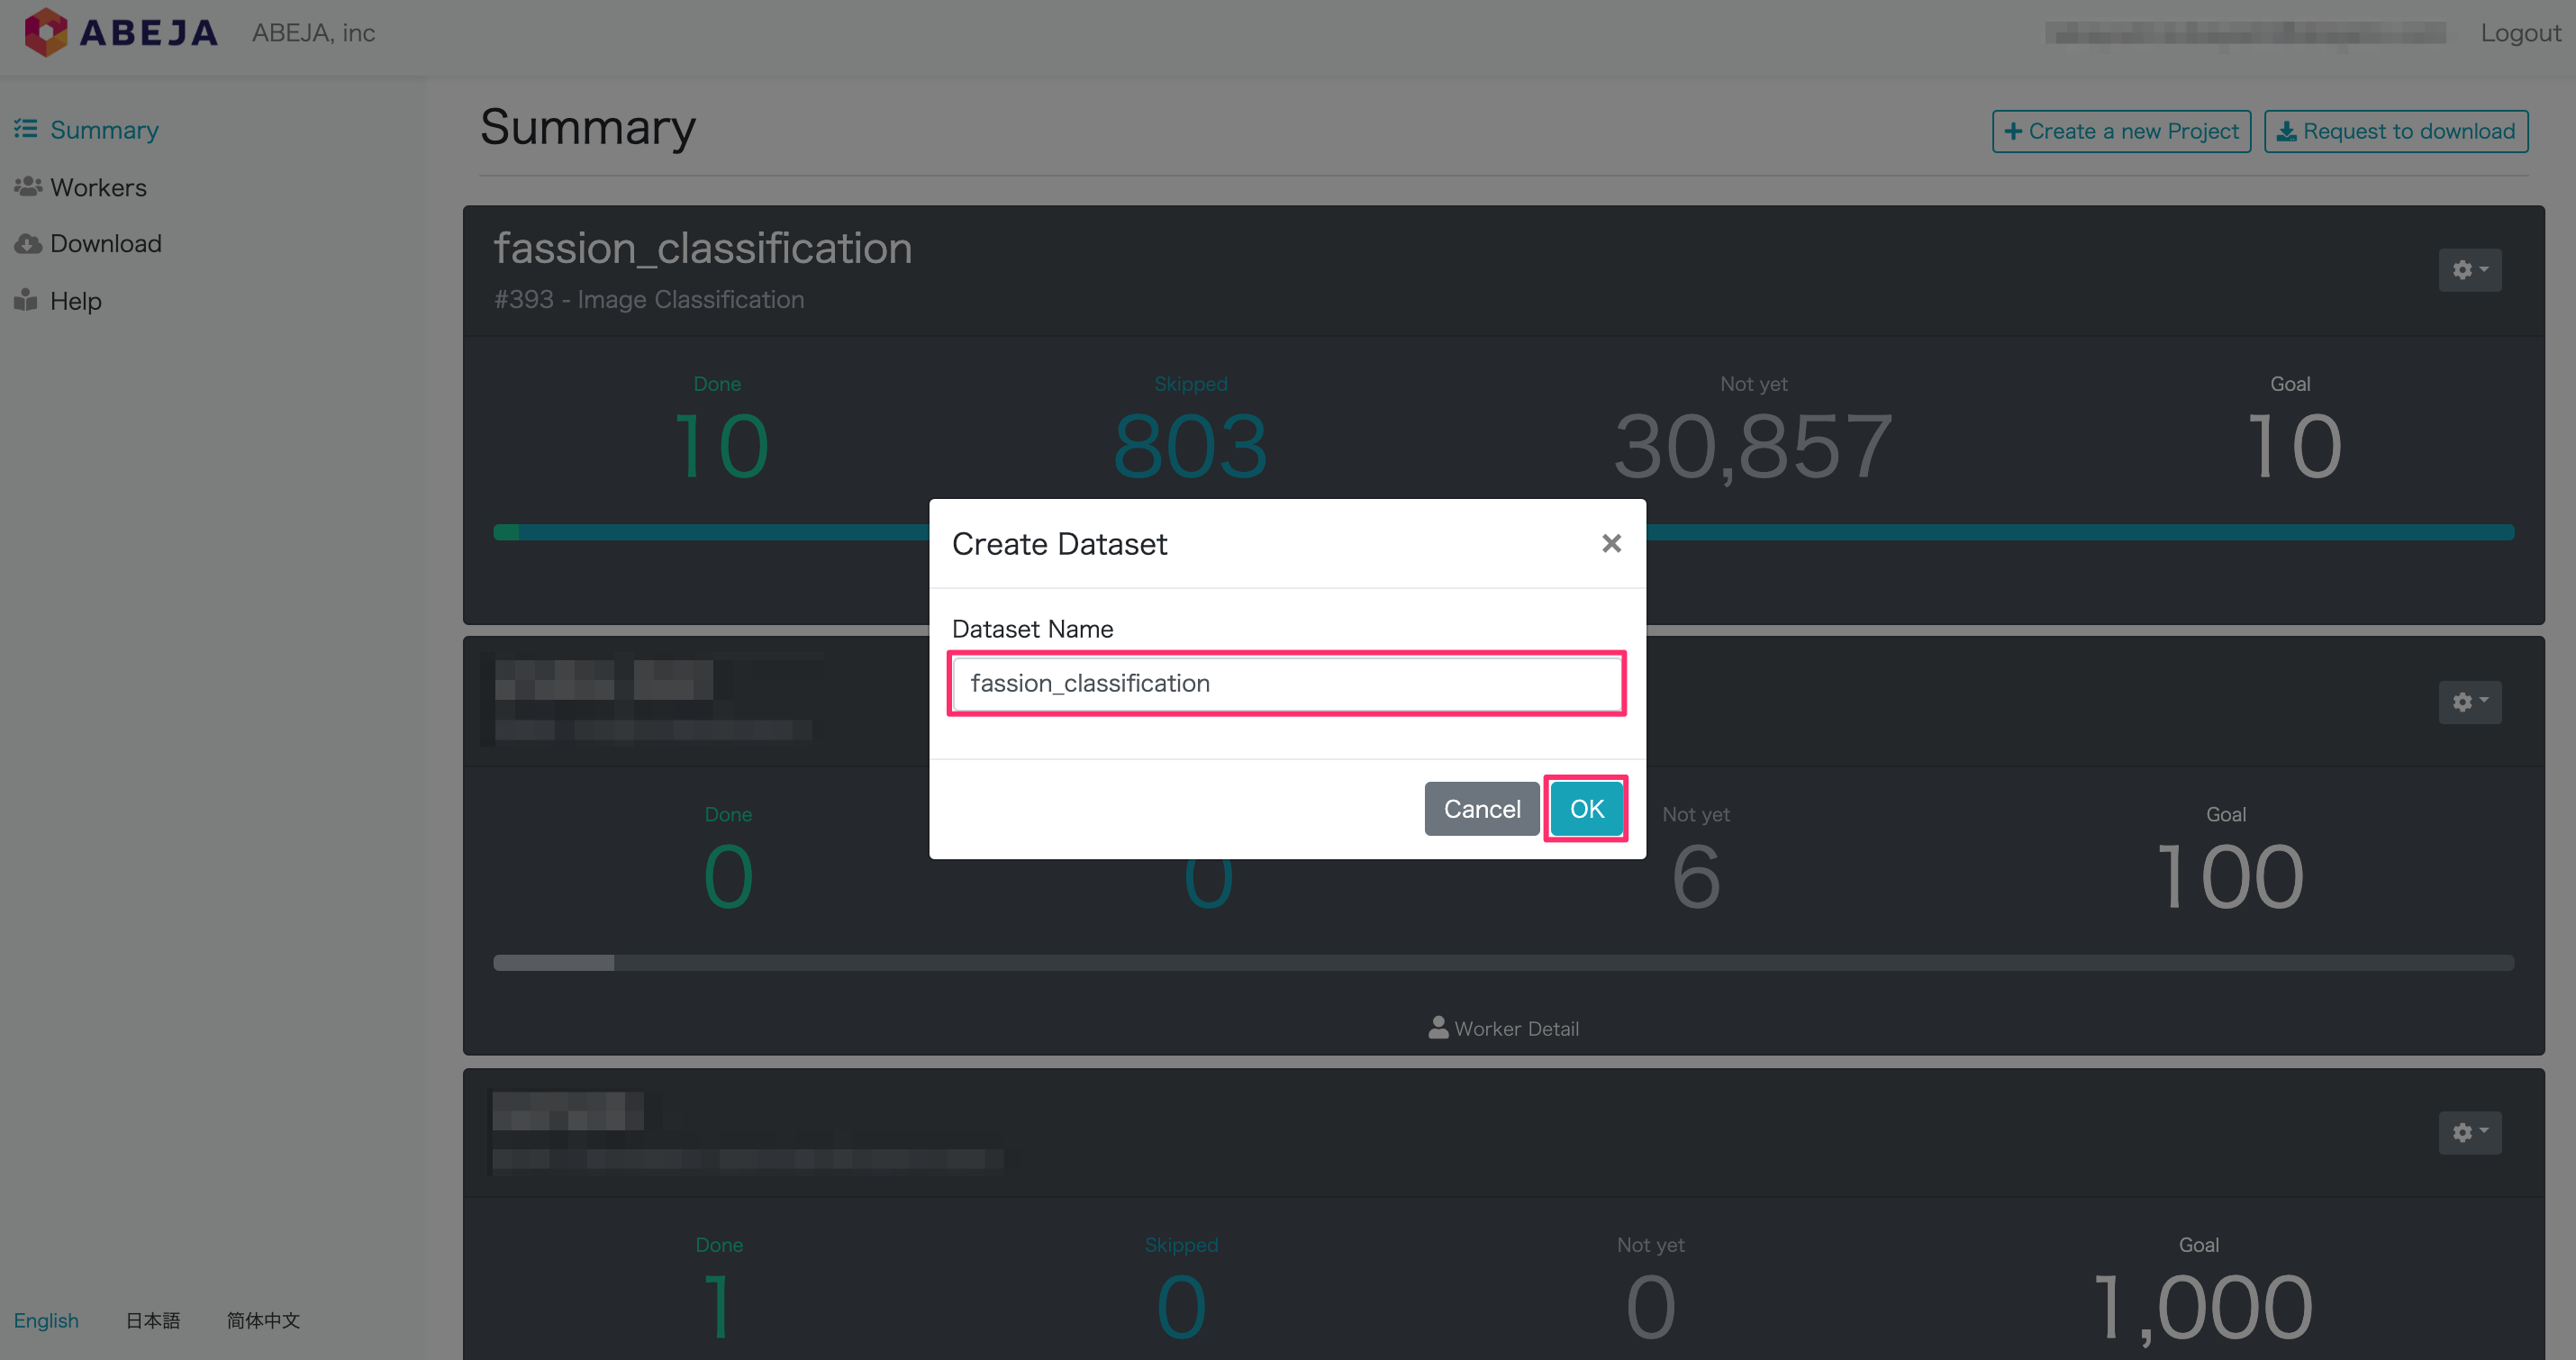
Click “OK” and you will see a success message.
Check the created dataset
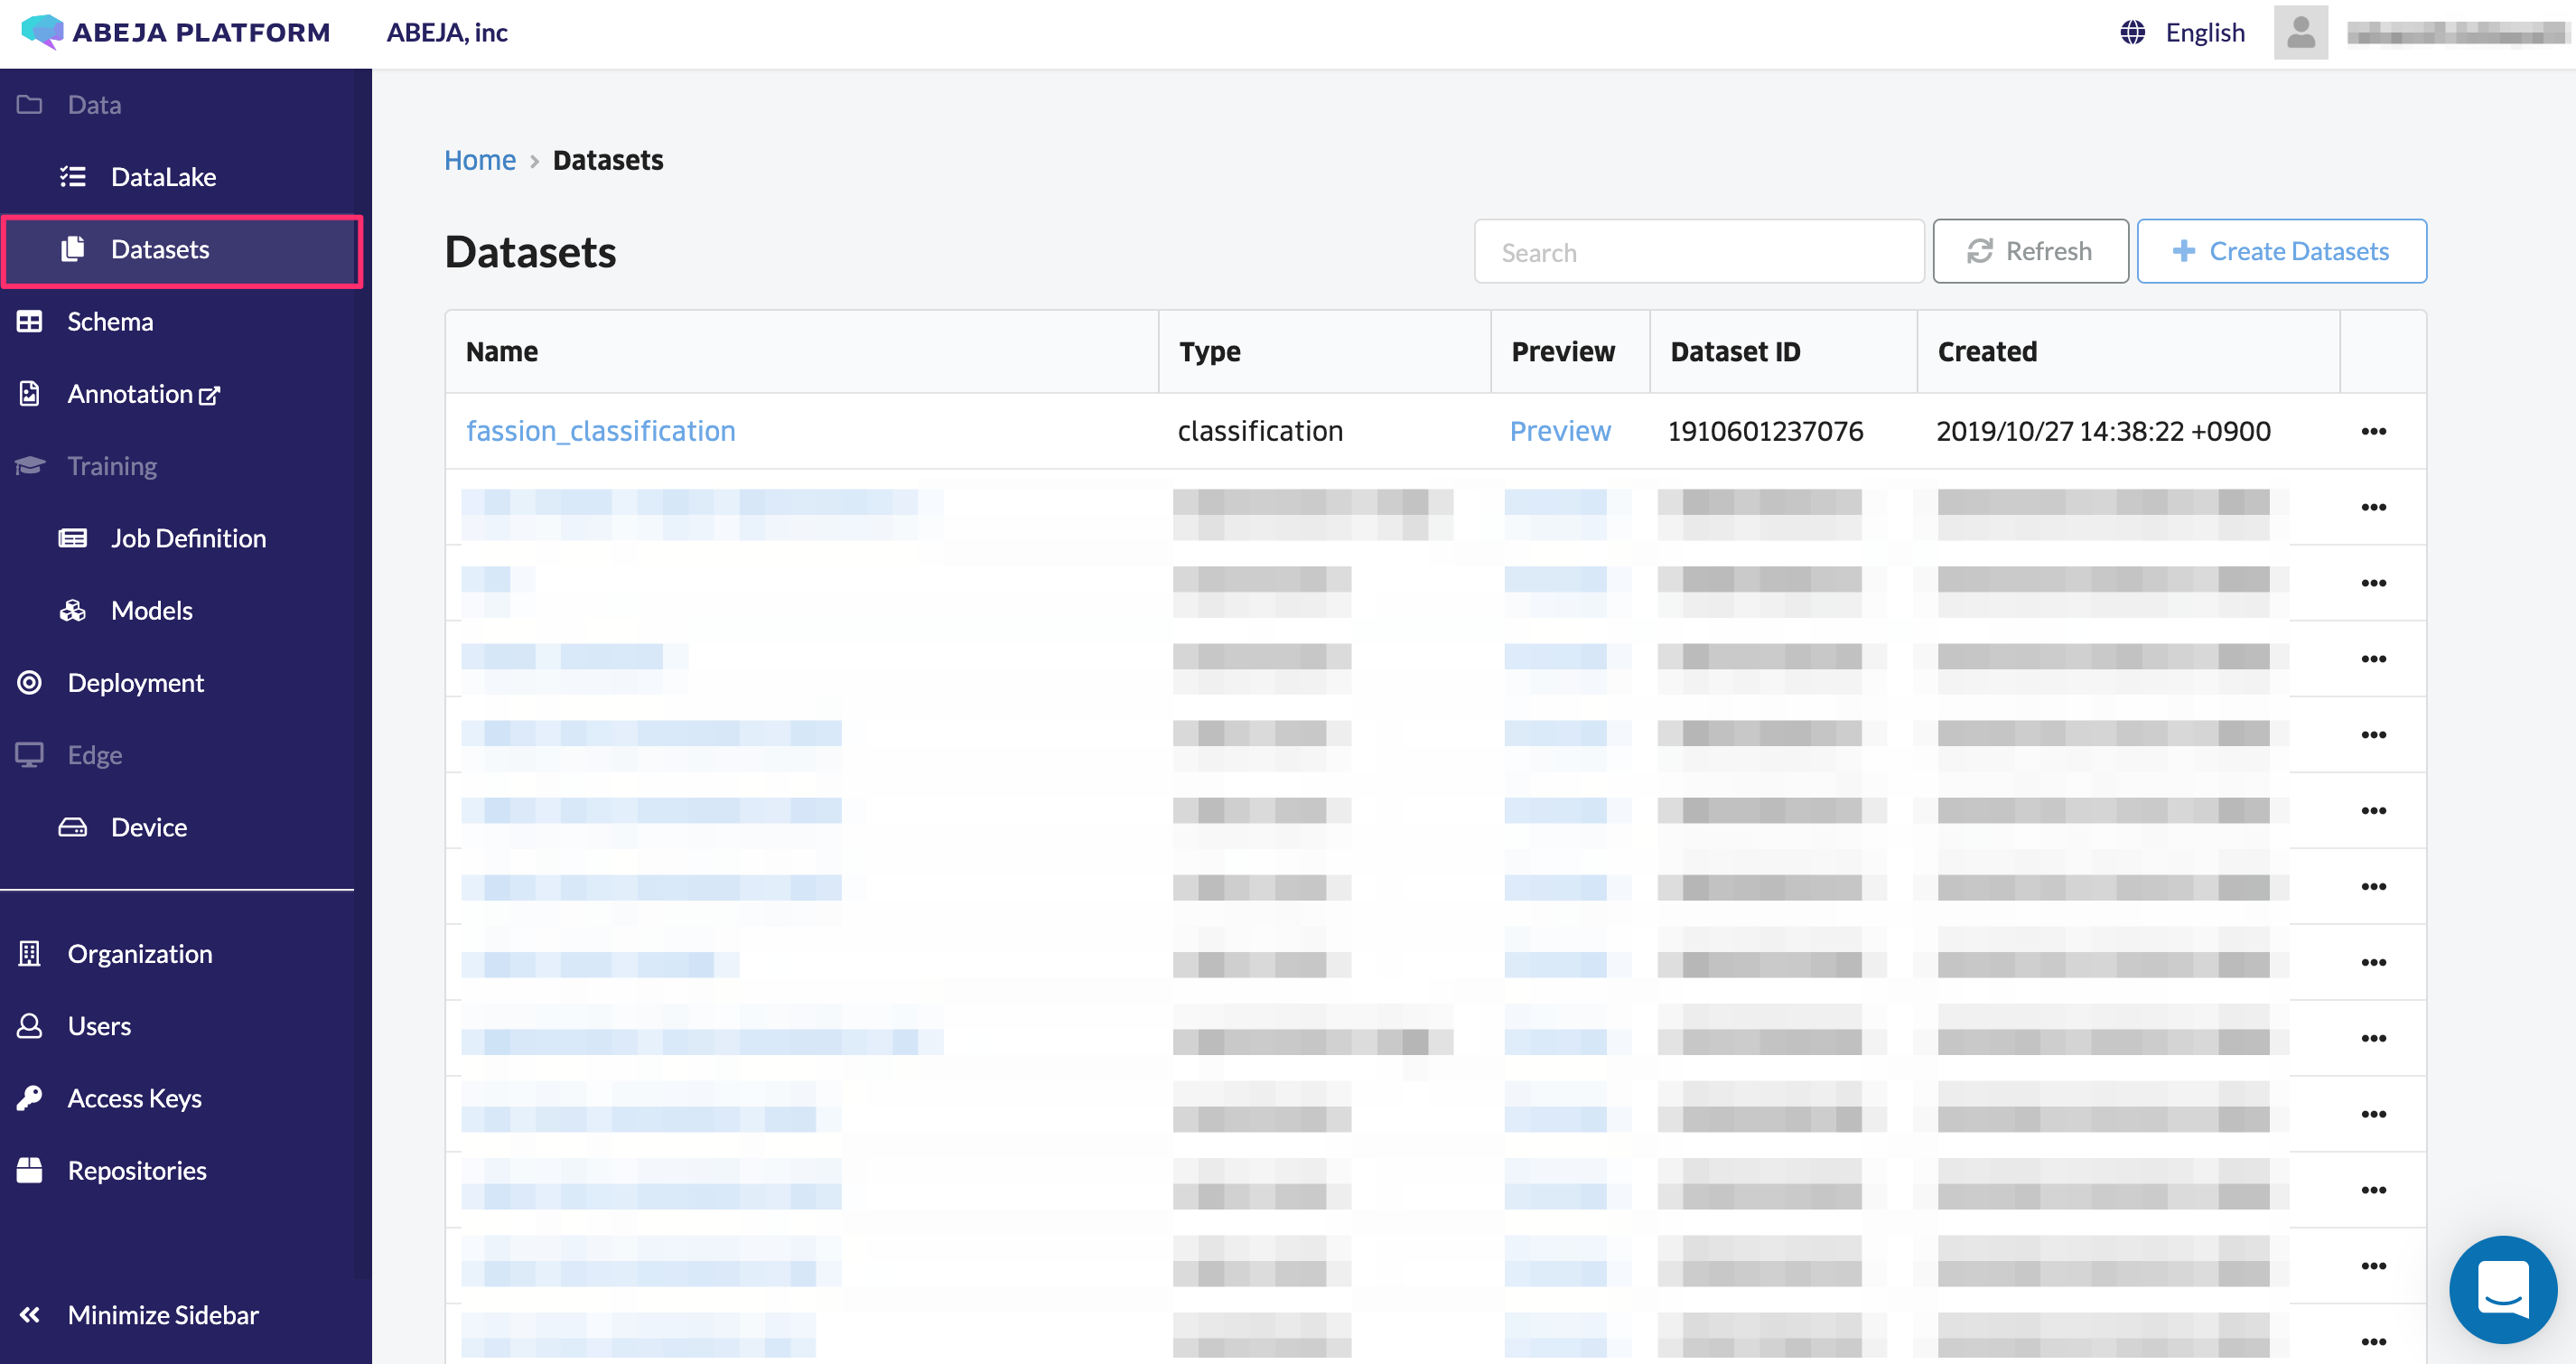
The exported dataset can be confirmed in the management console of ABEJA Platform.
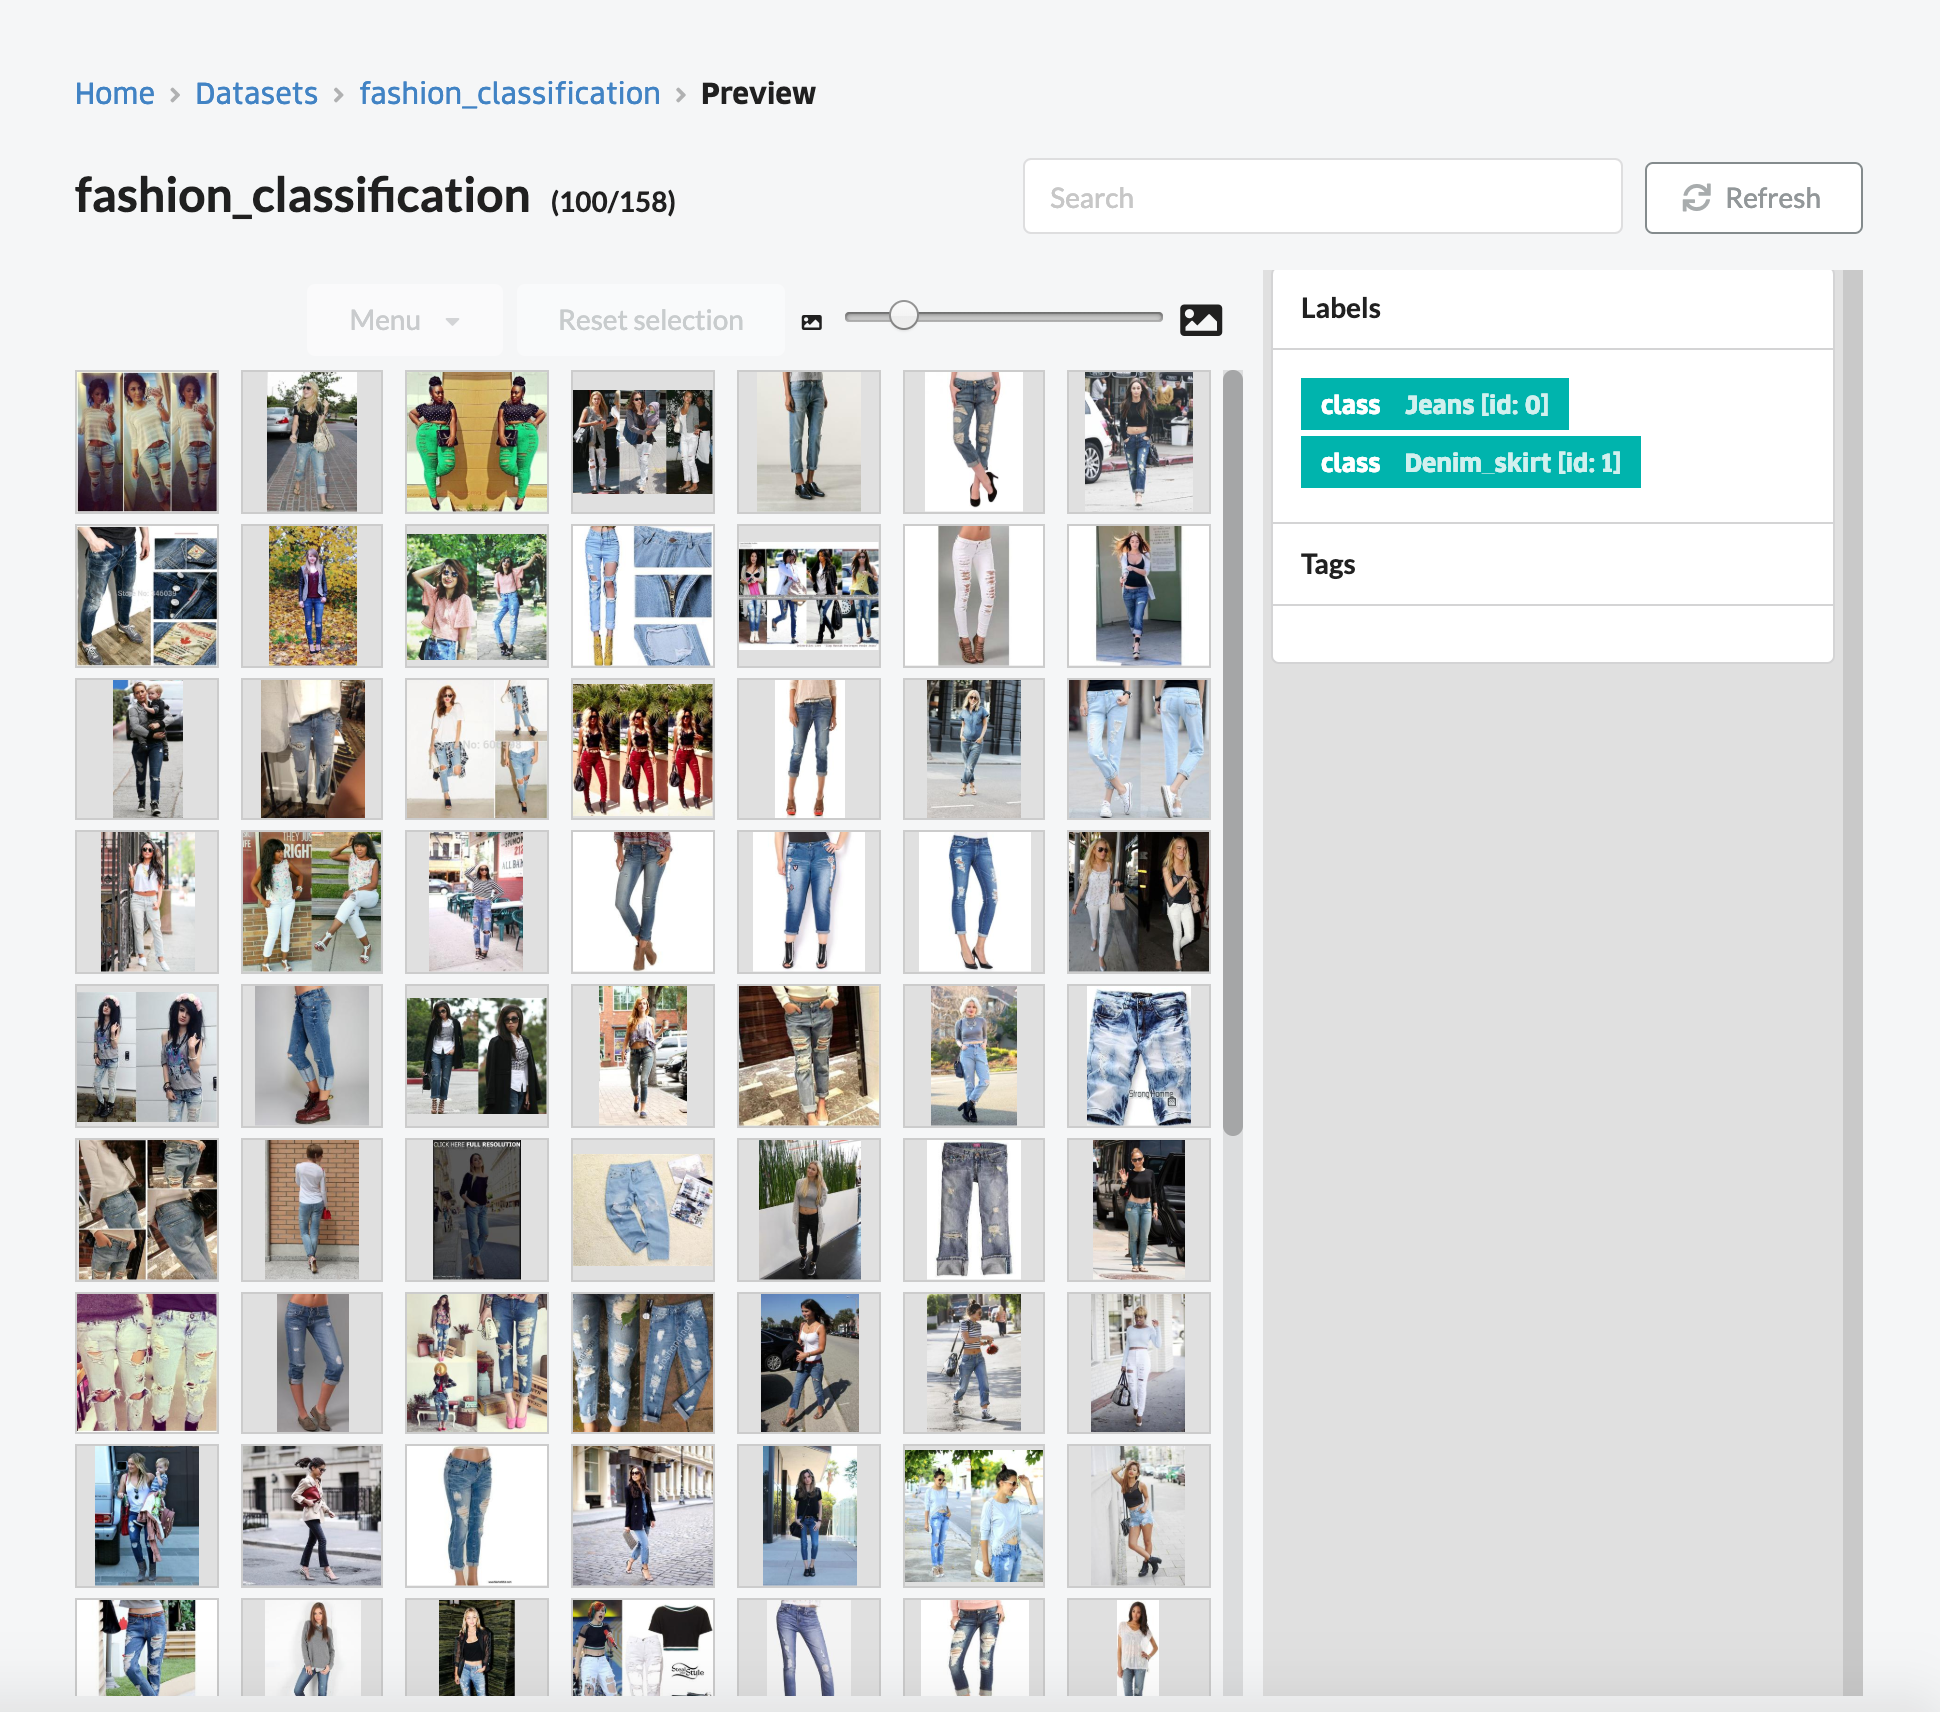
Open the management console of ABEJA Platform and click “Training> Datasets” in the left menu. You can select the created dataset and check the “Preview” of the dataset.
You can also display only images with the corresponding label from Labels on the right side of the screen.
In the next model training, the model is retrained using the dataset created this time.